Damaged nails after gel removal can be difficult to revive, but it’s not impossible! Gel manicures naturally are heavier on your nails and allow for less breathability, so we don’t recommend doing them too often but if you enjoy them, it’s important to know how to treat your nails after. Gel manicures might look nice and last longer, but they are also not the best for the health of your nails. So here are some steps on how to strengthen your nails after gel removal!
- Apply an after-gel healing base coat
If you want to heal damaged after gel nails and grow them to be strong and healthy, a healing base coat is the way to go! Our B.03 – After Gel Healing Base Coat helps you grow stronger, healthier, and smoother nails. Enriched with Vitamin E, Amino Acid, and Argan Oil, B.03 does wonders when it comes to saving your damaged after gel nails. Wear it by itself or under a non-toxic nail polish if you want to go back to color. One light layer of B.03 is enough.

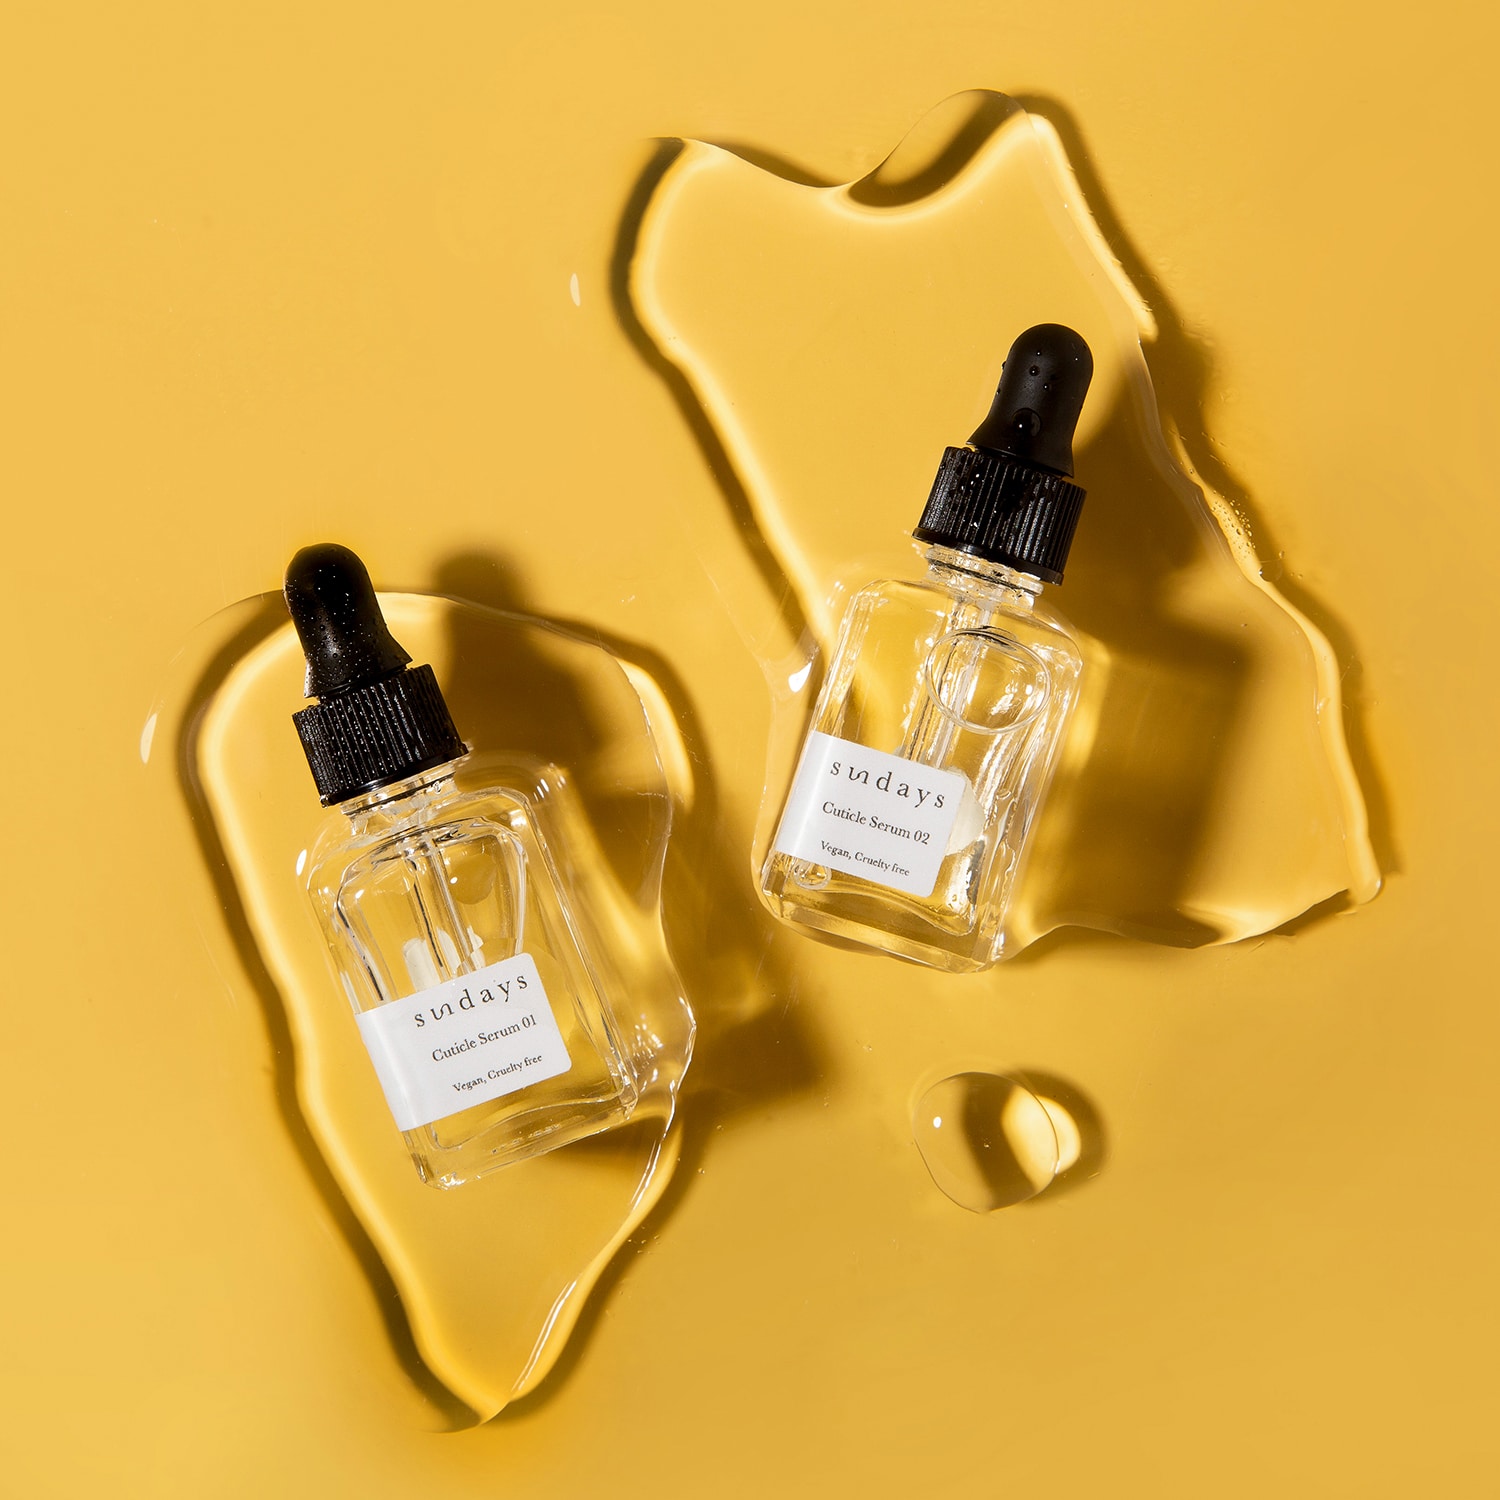
- Use cuticle oil
Add a little extra hydration to your nails with a hydrating cuticle oil. Perfect for everyday use, you can apply a drop of cuticle oil to each nail to give them a natural shine and extra hydration, without going too heavy on your nails.
You can also go with hand lotion and apply it all over your nails. We recommend you add a drop of cuticle oil to your lotion for added hydration. Try to do this every day for better results and trust us, your damaged after gel nails will thank you!
- Wear breathable nail polish
If you’re excited to go back to wearing nail polish, we recommend you go with a light non-toxic formula of polish. Make sure you apply a healing base coat before your nail polish for added protection. We recommend you try to take a break from gel manis until your nails are completely healed.
- Do a buff mani
A buff manicure is a great way to promote strong, healthy nails. Buffing your nails improves blood circulation and therefore encourages nail growth. Plus your nails will look shiny and healthy. If you want to learn how to do a buff mani, we recommend your read our step-by-step blog. Try to buff your nails 3-4 days a week until they’re completely healed.

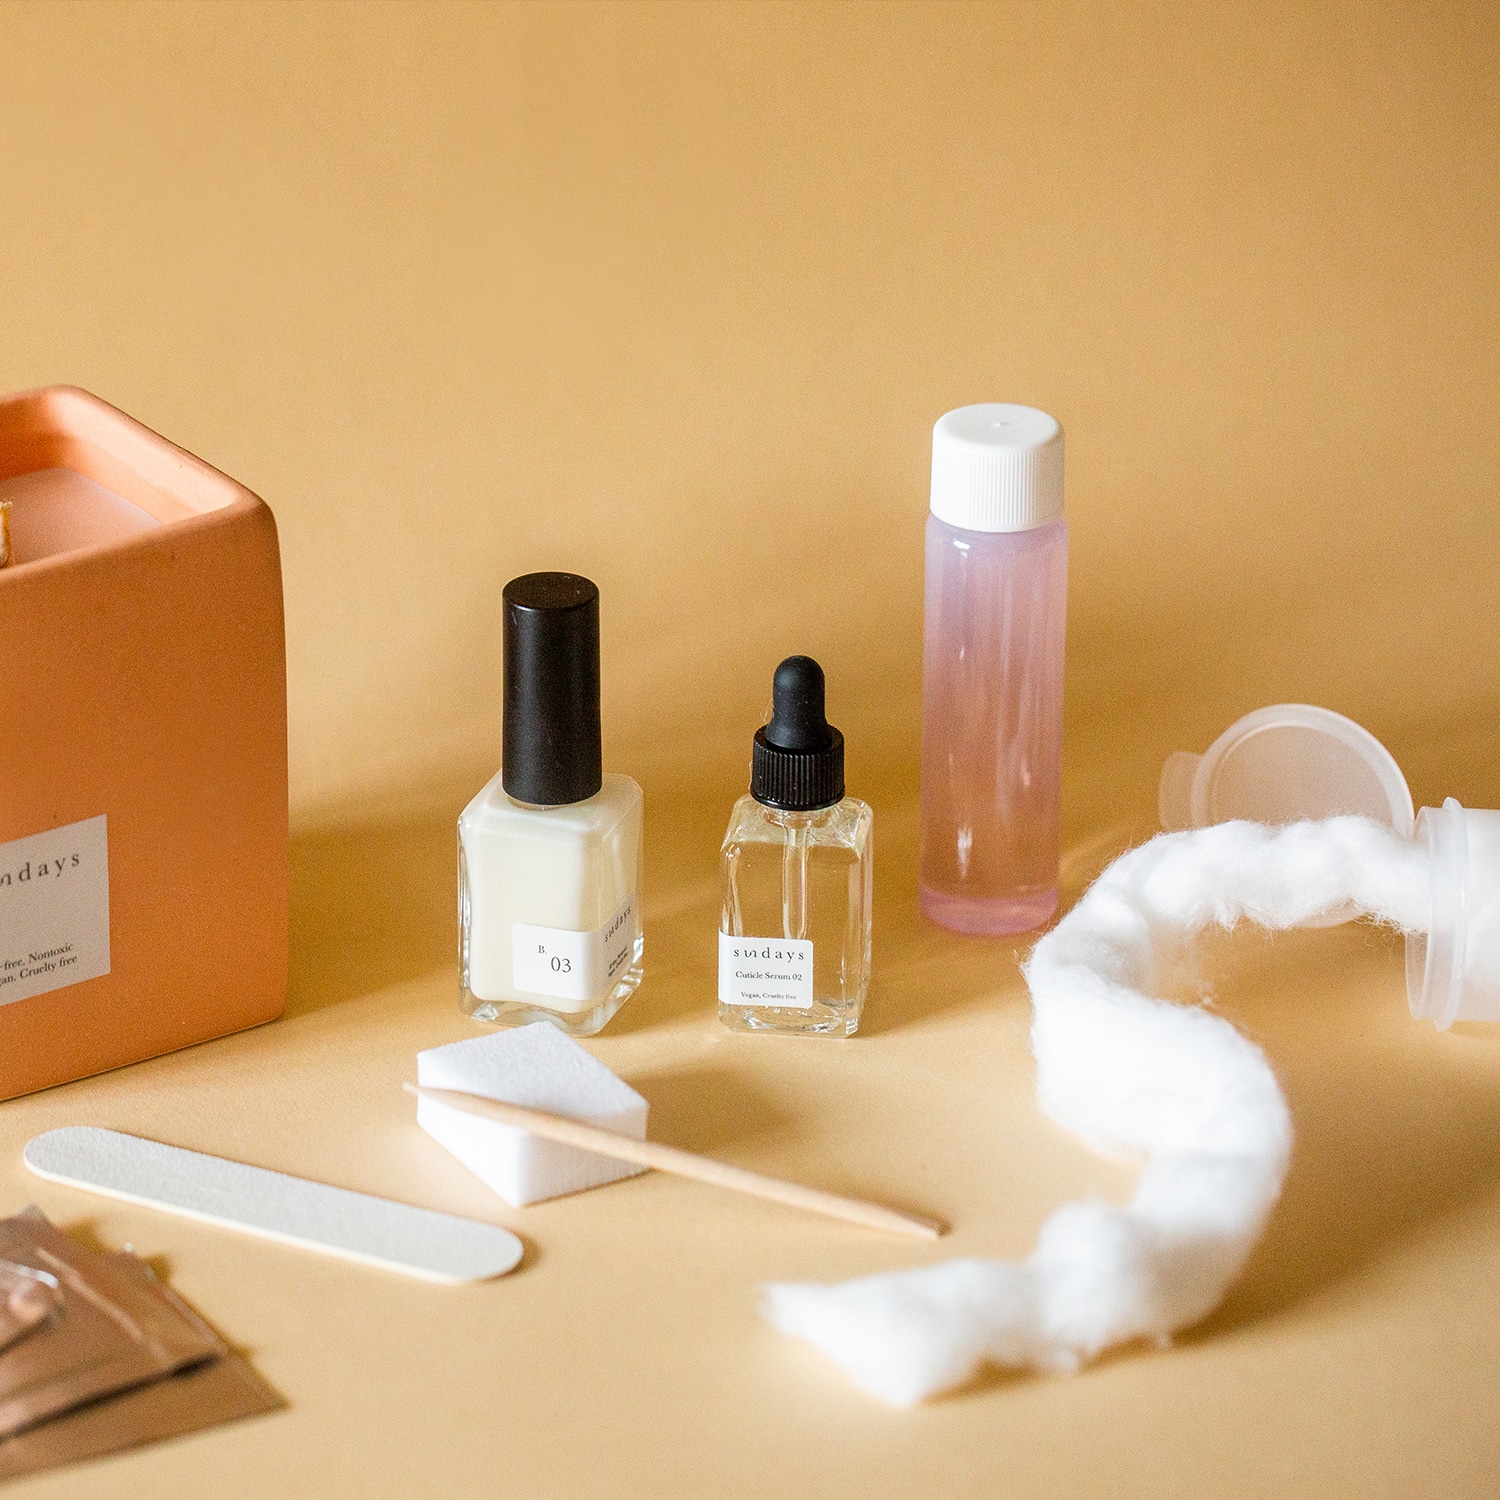
- Gel polish remover kit
It’s important to remove your gel polish safely. So you should use products that are more gentle to your nails. Our gel removal kit has all the tools you need to remove your polish safely in under 20 minutes, including cuticle oil and after gel healing base coat. And if you want to learn how to remove your gel polish at home, we recommend you watch our step-by-step IGTV or read our blog!
FAQ:
Here are common questions and answers about strengthening nails after gel removal.
- How to repair damaged nails after acrylics?
Make sure you use light non-toxic nail polish, moisturize your nails, and stay away from acrylics until your nails fully heal.
- How to remove glitter gel nail polish?
Take the same steps as in gel removal, but make sure to buff the glitter layer off first.
- How to strengthen nails with a home remedy?
The top recommendation that we would have is to use a lemon slice and add it to your lukewarm soak to enrich your nails with Vitamin C. Do this at least once a week and soak your nails for about 10 minutes.
- What is the best way to repair a broken fingernail?
We have a complete blog on how to fix a broken nail, including some home remedies like the tea bag method. Read it here!


