With the warm and sunny spring days coming, it’s an ideal time to try out a little nail art. We know it’s difficult to not be able to spend your time outdoors but why not spend the time at-home doing something fun and relaxing for yourself. Just concentrating on doing your nail art can be quite calming as it’s almost like creating a painting and your nails are the canvas. It helps awaken your artsy side and fills your time with something that eases your mind, making you feel good inside and out.
Well with that in mind we wanted to make it easy for you to do nail art at home. Especially if you’re a beginner! Our founder, Amy Lin shares her effortless and pretty nail art that you can do at the comfort of your home. No nail art tools needed! Watch the IGTV video or follow the steps below!
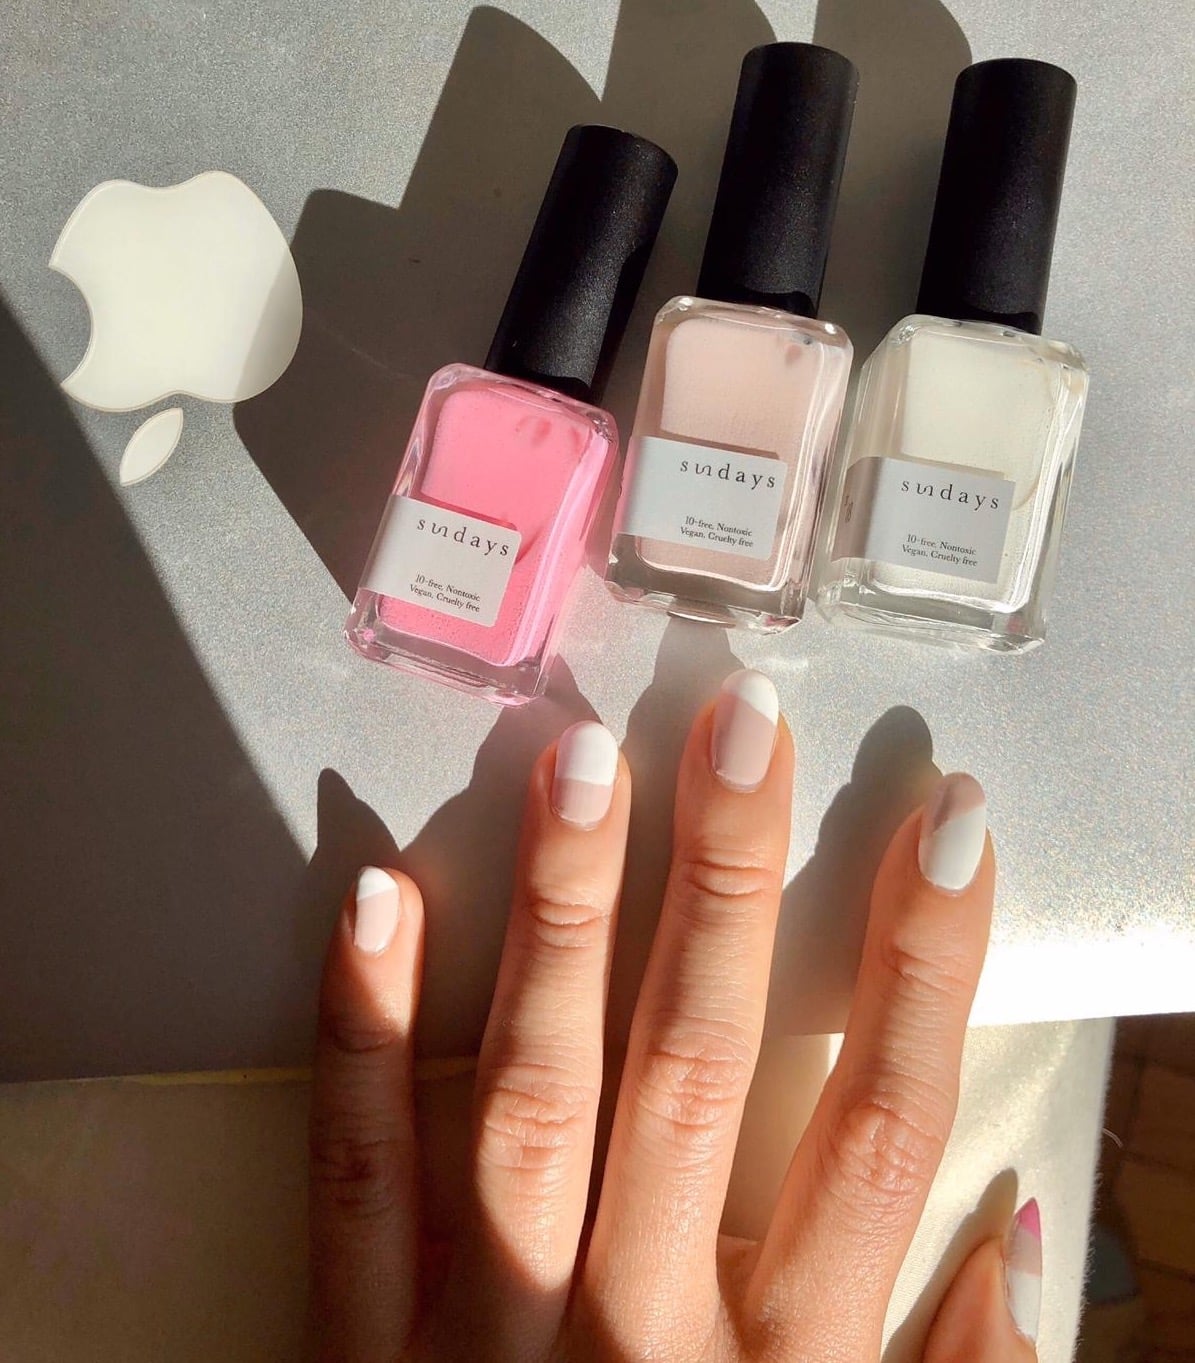
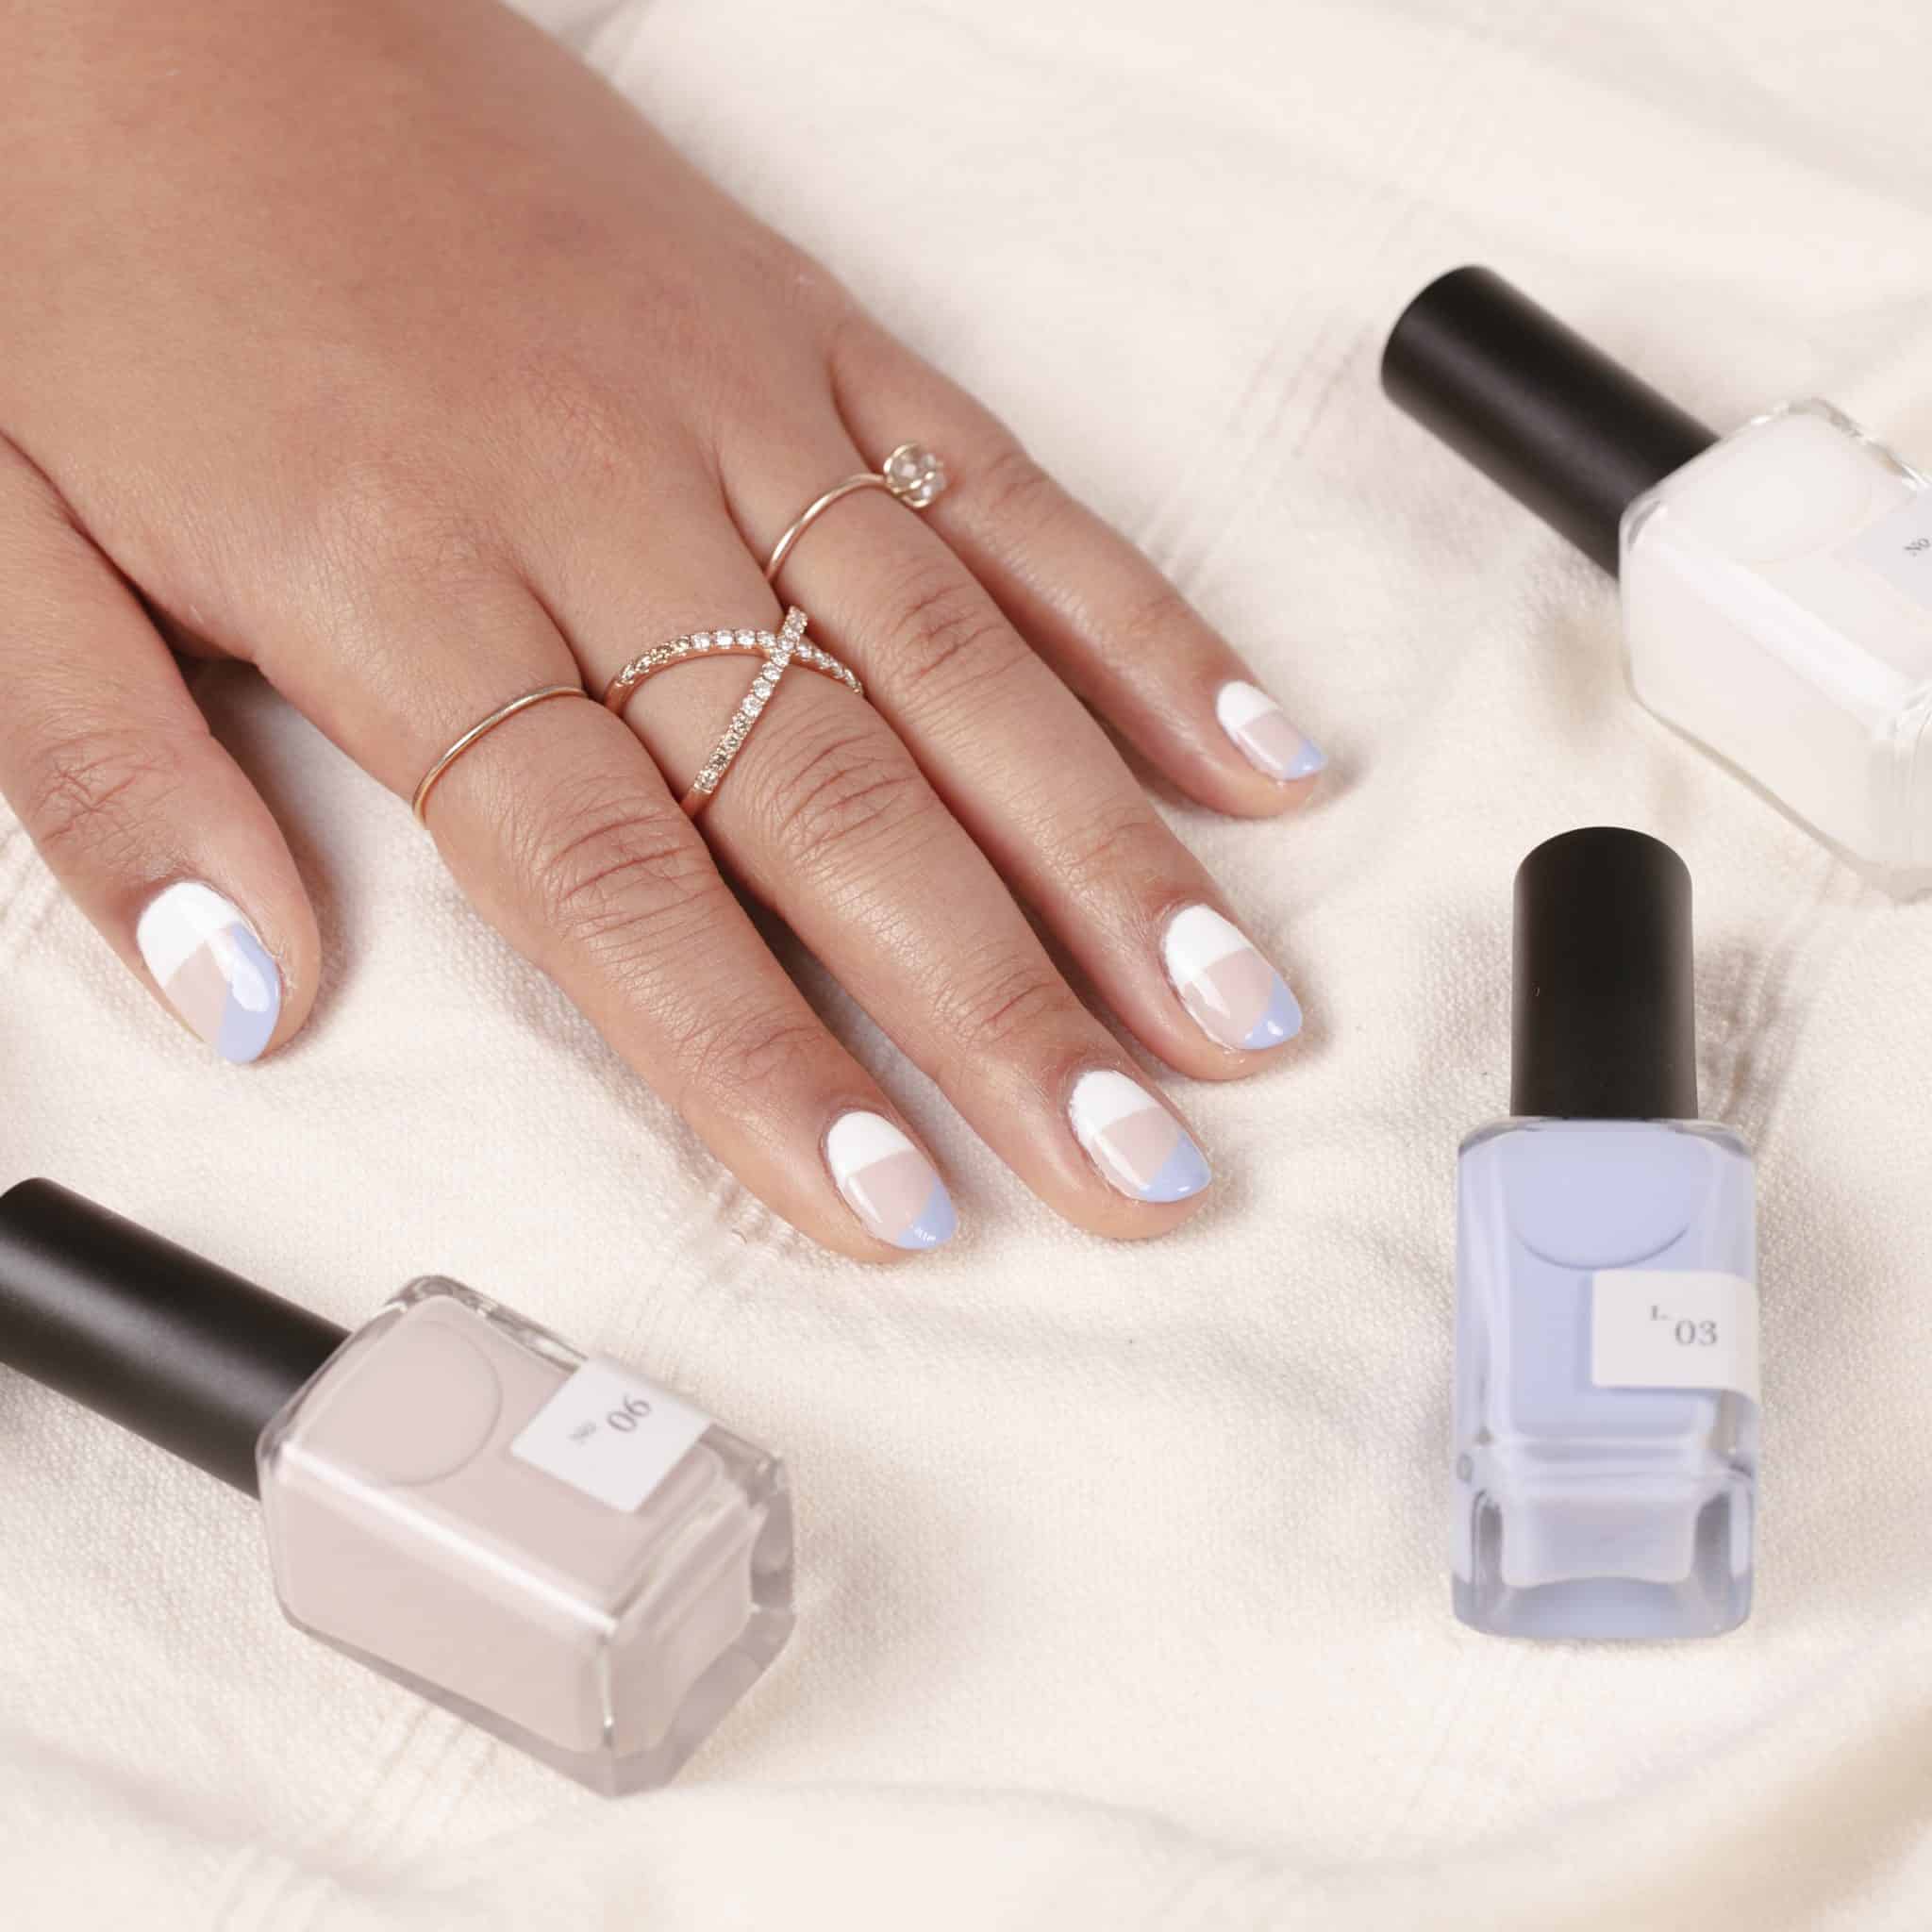
What you’ll need: 3 nail polish shades of your choice (first image features No.01, No.06 and L.03, while Amy’s nail art below highlights No.10, No.06 and N
First before starting, clean your nail plate with a paper towel and nail polish remover. This way you will clean up any oil on your nail plate so your polish can last longer!

Step 1: Apply your B.04 base coat. The basecoat smooths out any lines on your nail plate, so when you apply your polish, your nail art will look nice and shiny. It’s almost like a makeup primer for your nails! After applying, allow your nails to dry for 60 seconds.
Step 2: Apply the first layer of nail polish. Use No.01 on your thumb and index finger. Then use No.06 on your middle, ring, and pinky finger. After applying use the flat side of the wooden stick to clean up the sides of the polish. Don’t worry if it’s not even, just make sure your first layer is very light. Wait for 2 minutes to dry.
Step 3: Apply a second coat, wait for 2 minutes to dry.
Step 4: Start your design! Amy did her nail art in a random pattern, but you’re welcome to be creative and do your own. You can also use any desired combination of polish colors.
Using No.06, take a little bit of polish and brush a line over the middle and then brush it down to the top of the nail on your thumb finger. For the second nail (index finger) you want to brush from the side(diagonal). Then once you get to the middle finger, switch to No.01 to brush diagonal across the nail, then still using the same polish shade you can repeat the same step on your ring finger as you did on your thumb (brush over the middle and brush down to the top of the nail). Once you get to your pinky (still using No.01), you can repeat the diagonal pattern. After you’re done with the design, you can clean up the residual nail polish on the sides with the flat end of the wooden stick.
Pro tip: Try to apply the design in one stroke to make your nail art look as seamless as possible.
Step 5: Touch up your nails to see if you need a second coat. Then dry for another 2 minutes.
Step 6: Use another color (Amy’s using a pretty bubble gum pink No.10). Apply across the top of your nail on your thumb finger. Dry for 2 more minutes.
Step 7: Apply your top coat (T.01), you can be generous with the application to make your nails as shiny as possible. Remove any residue around the nail with the flat end of the wooden stick. After this, you can apply a Quick Dry Oil(QD.01), which cuts the drying time in half. Usually takes 20 minutes, but with QD.01 it only takes 10!
And you’re done! Thank you for following Amy’s steps for easy at-home nail art! We hope that it made your day a little brighter and that it made you a little more excited about spring. Please reach out to us if you have any questions about the nail art tutorial or any of your other nail-care needs at info@dearsundays.com. We welcome any content requests or feedback, so feel free to reach out!
Sending our love and support.
-Amy and sundays family
[wpcs id=”23066″]


