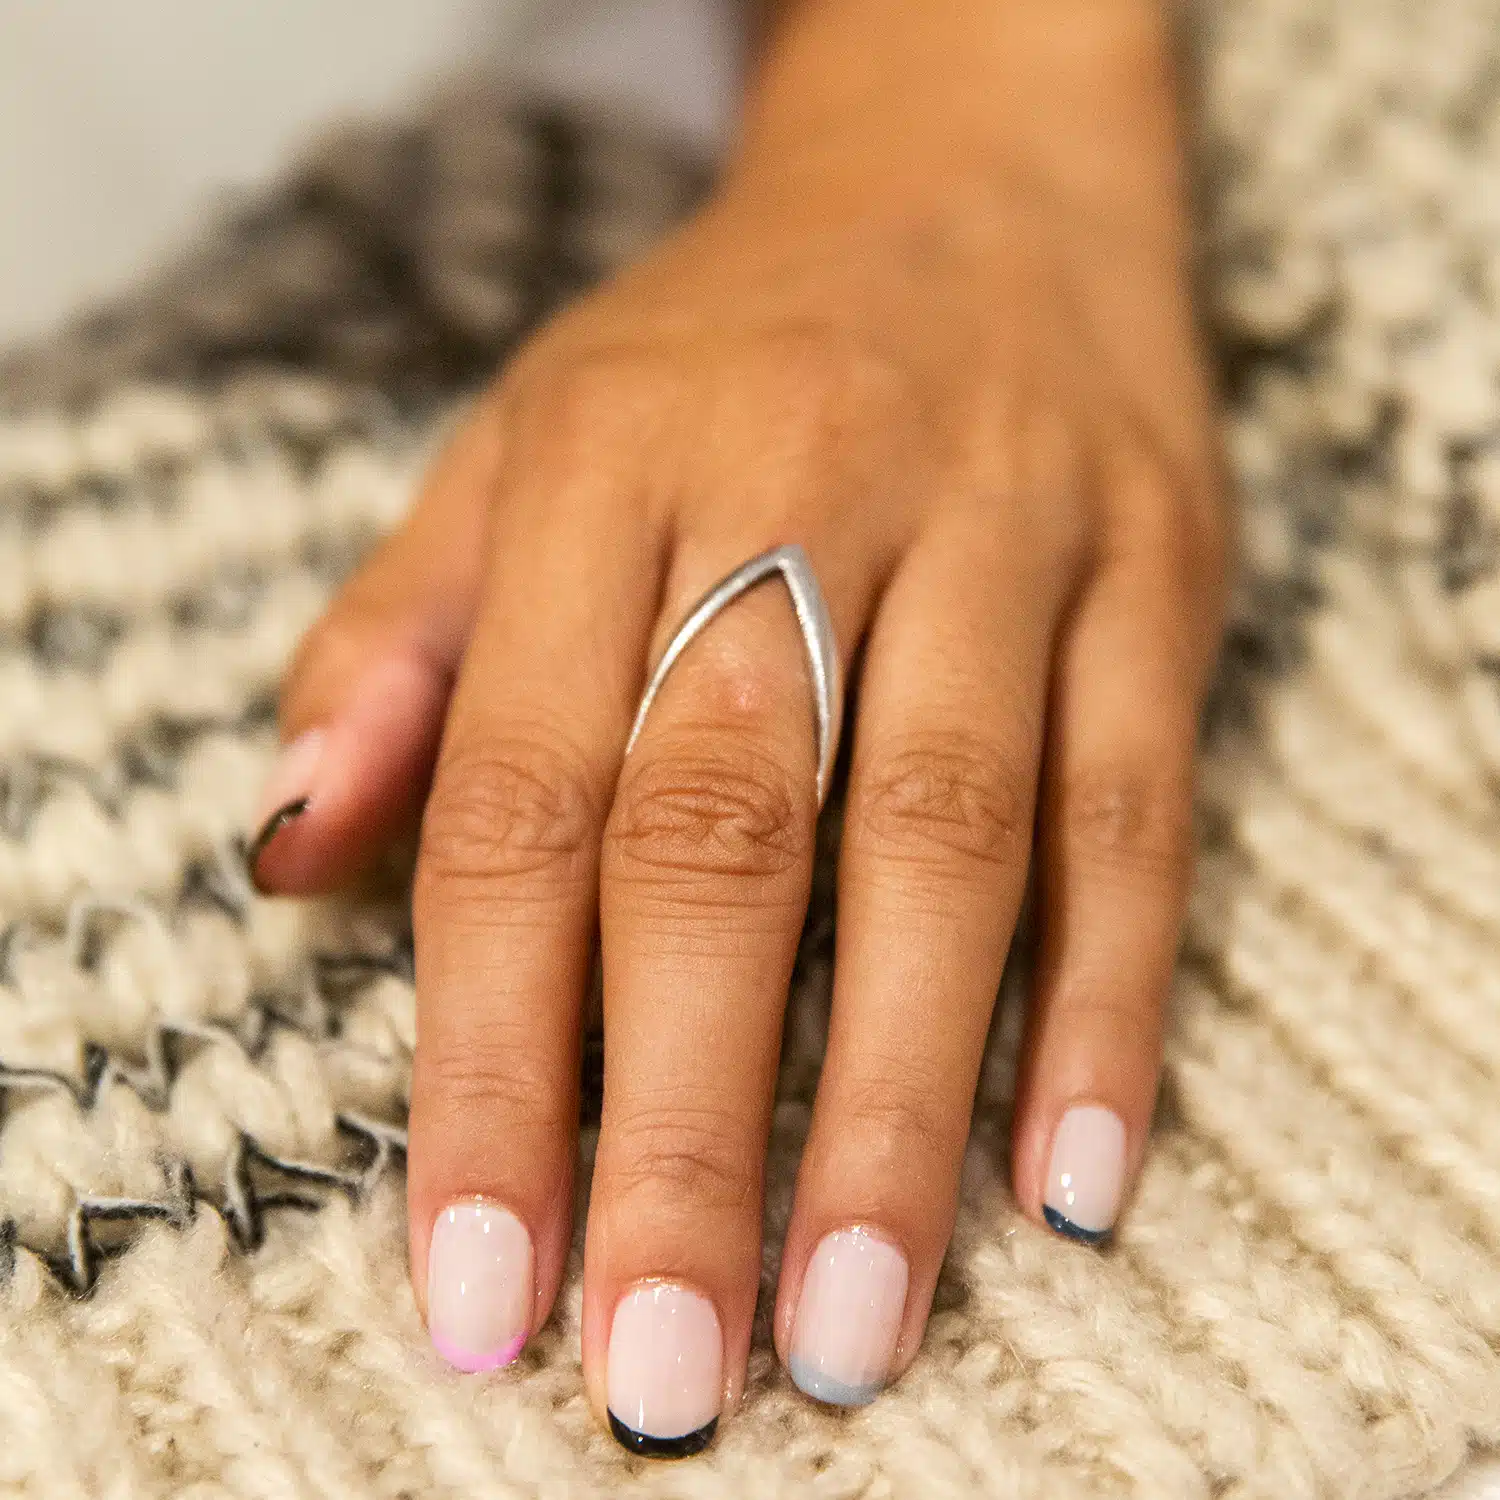
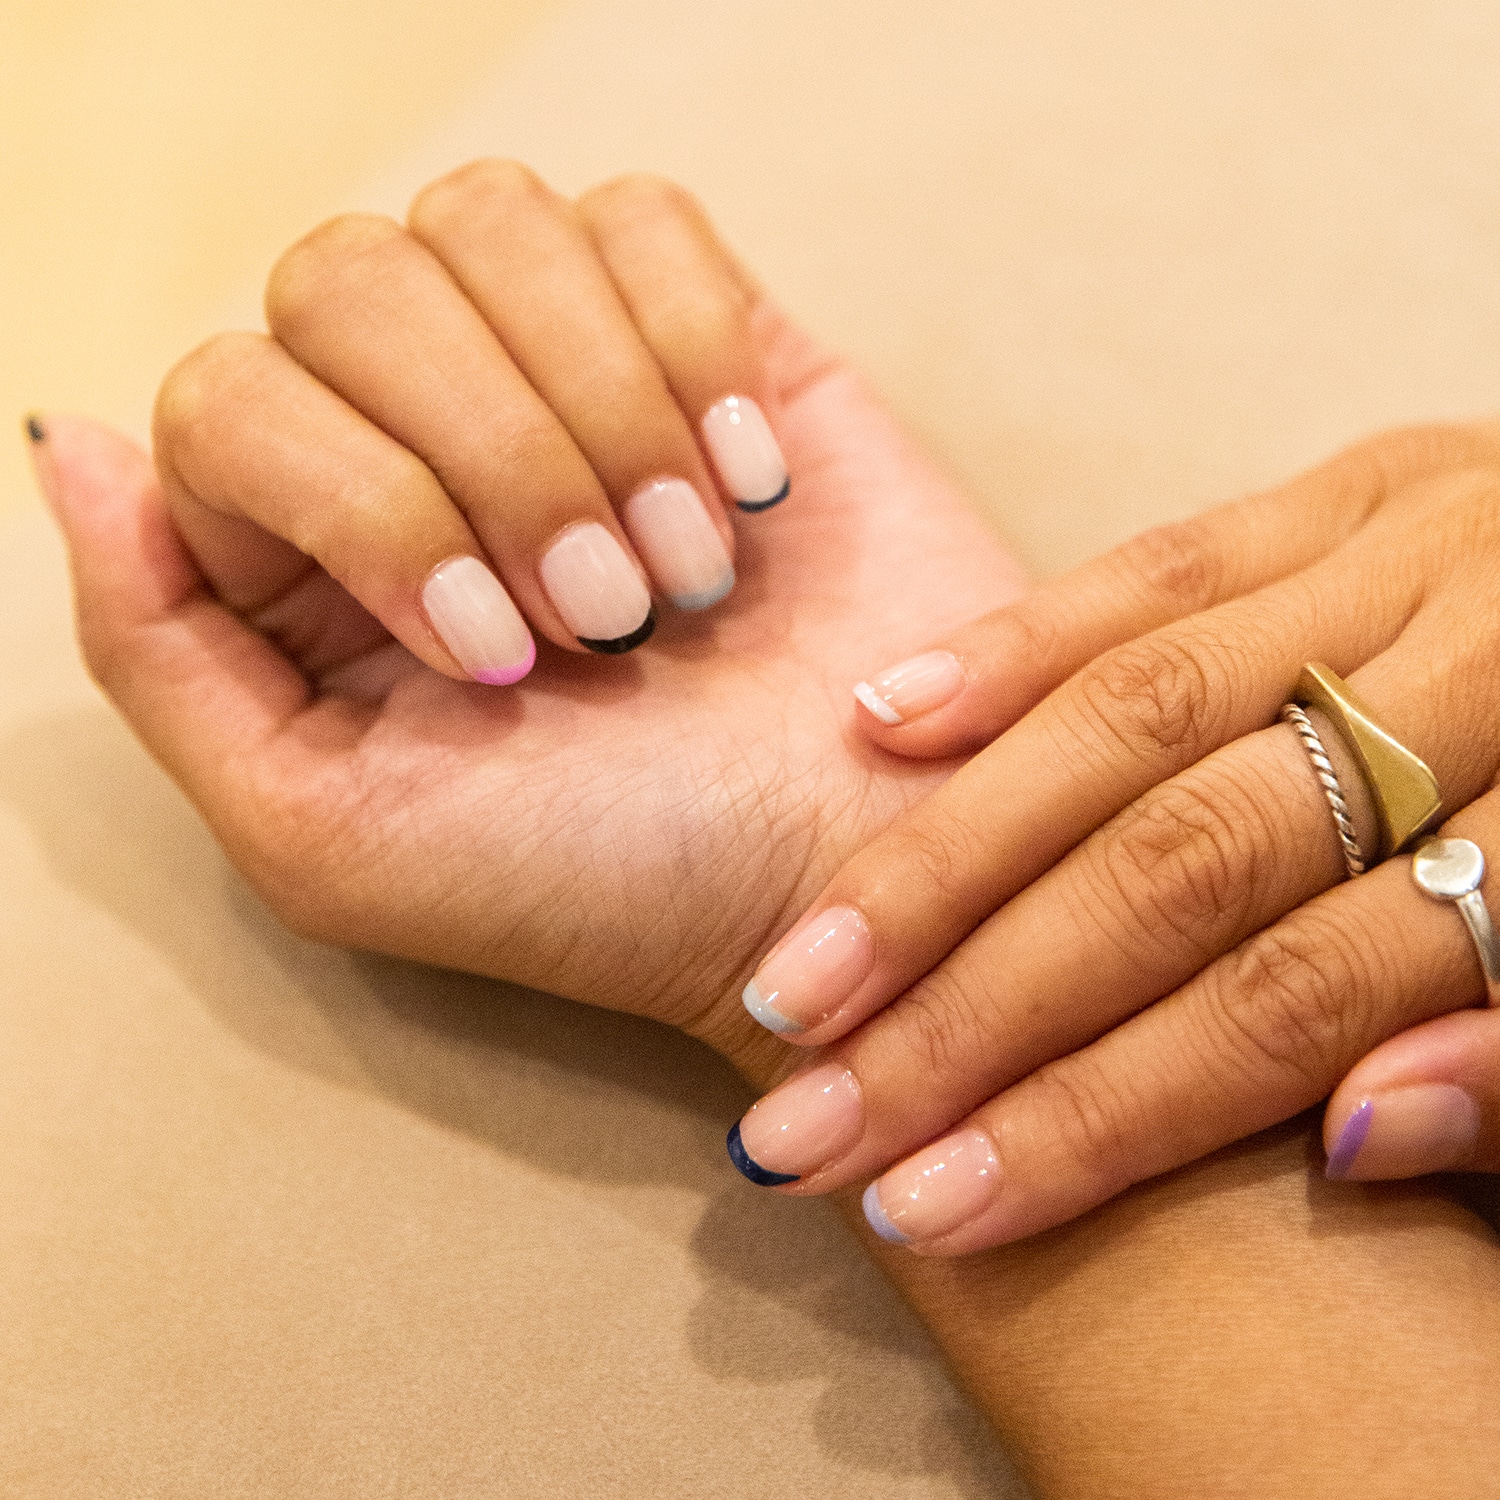
The multi-colored French mani was trending during summer but the playful look has found its place in fall as well. This fun twist to the classic French manicure is a great way to add a pop of color to your toned-down fall look and play around with your favorite autumnal shades. Plus, it gives a little excuse (not that we need one) for some well-deserved me-time! You don’t need to be a nail art expert to achieve this look but you do need a little bit of patience. But hey, it reminds us to slow down, take our time and spend that time taking care of our hands and of ourselves.
What you’ll need: paper towel, file, nail clipper (optional), cuticle oil, nail art brush (optional), polish remover, wooden stick, top coat, base coat, at least 3 nail polish colors of choice.
Step 1: Select your colors
First, you need to have at least one sheer color as your base color. You may apply one coat of the color or just use a base coat if your nail plate is a bit pink.
You’ll need to choose a minimum of two other colors to do a multi-color French tip. For Fall, we suggest a nice purple or dark blue or even a mysterious pink to balance out the darker shades.
In the featured photo, we went with lighter shades L.02, N0.42. No.31, and No.01, but you can also use a combination of earthy fall tones and burgundies.
Step 2: Prep your nails
First prep your nails the same way you would for a regular manicure. Clean your nail plate with a polish remover, file your desired nail shape (follow our blog on how to file your nails here) and buff any ridges. Add cuticle oil and push back your cuticles with the flat side of the wooden stick. Wash your hands then go ahead and paint your first layer (base coat or a light sheer shade). Apply one layer of base coat to create a clean look. You may apply two clear base colors if you’re using opaque colors or you want more of a pink base. Wait at least 3 minutes between each layer. After that, wait at least ten minutes before moving on to the French tips.
Step 3: Start your tips
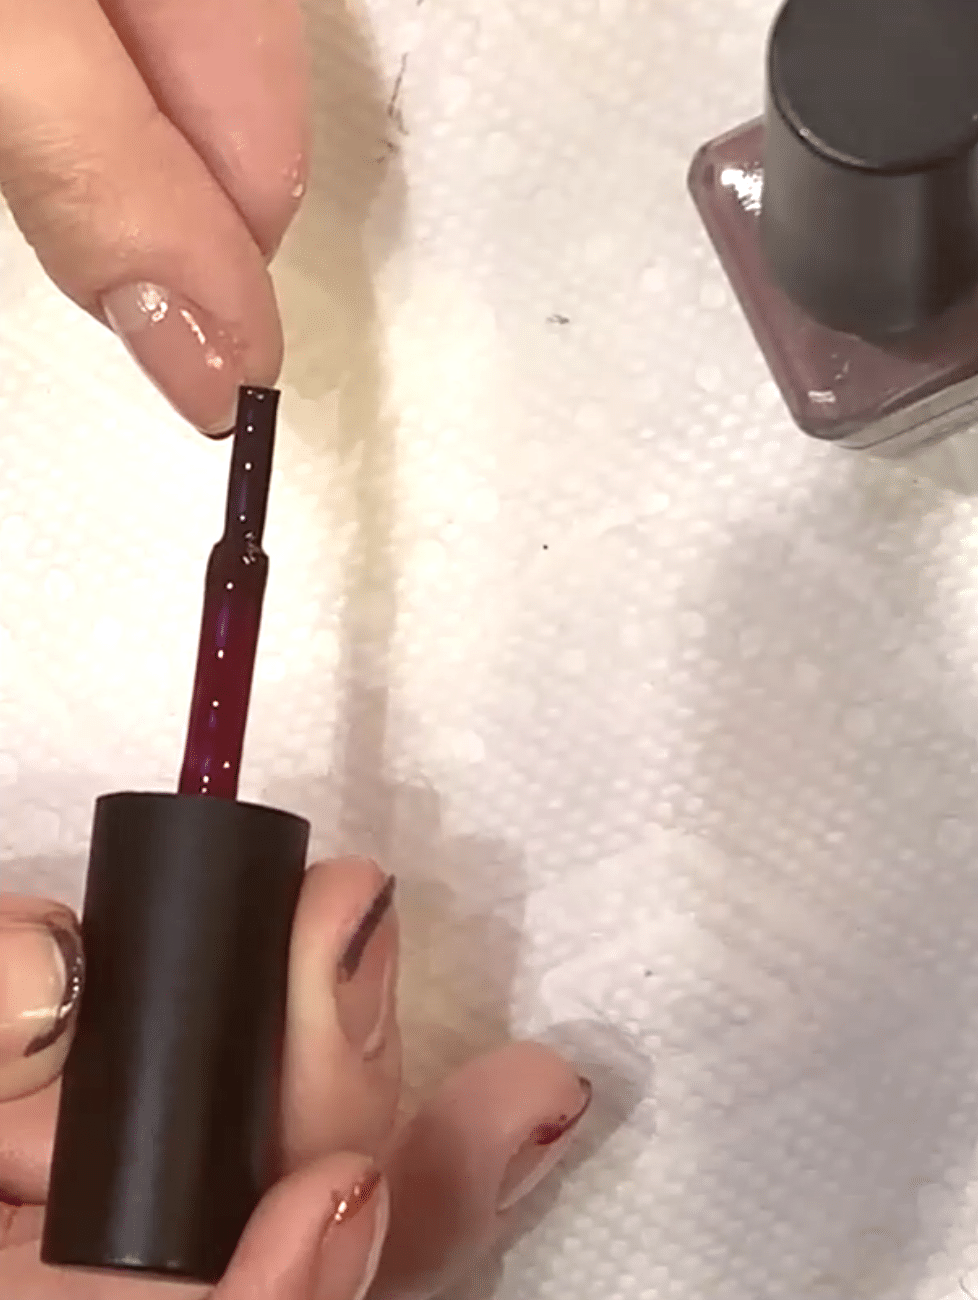
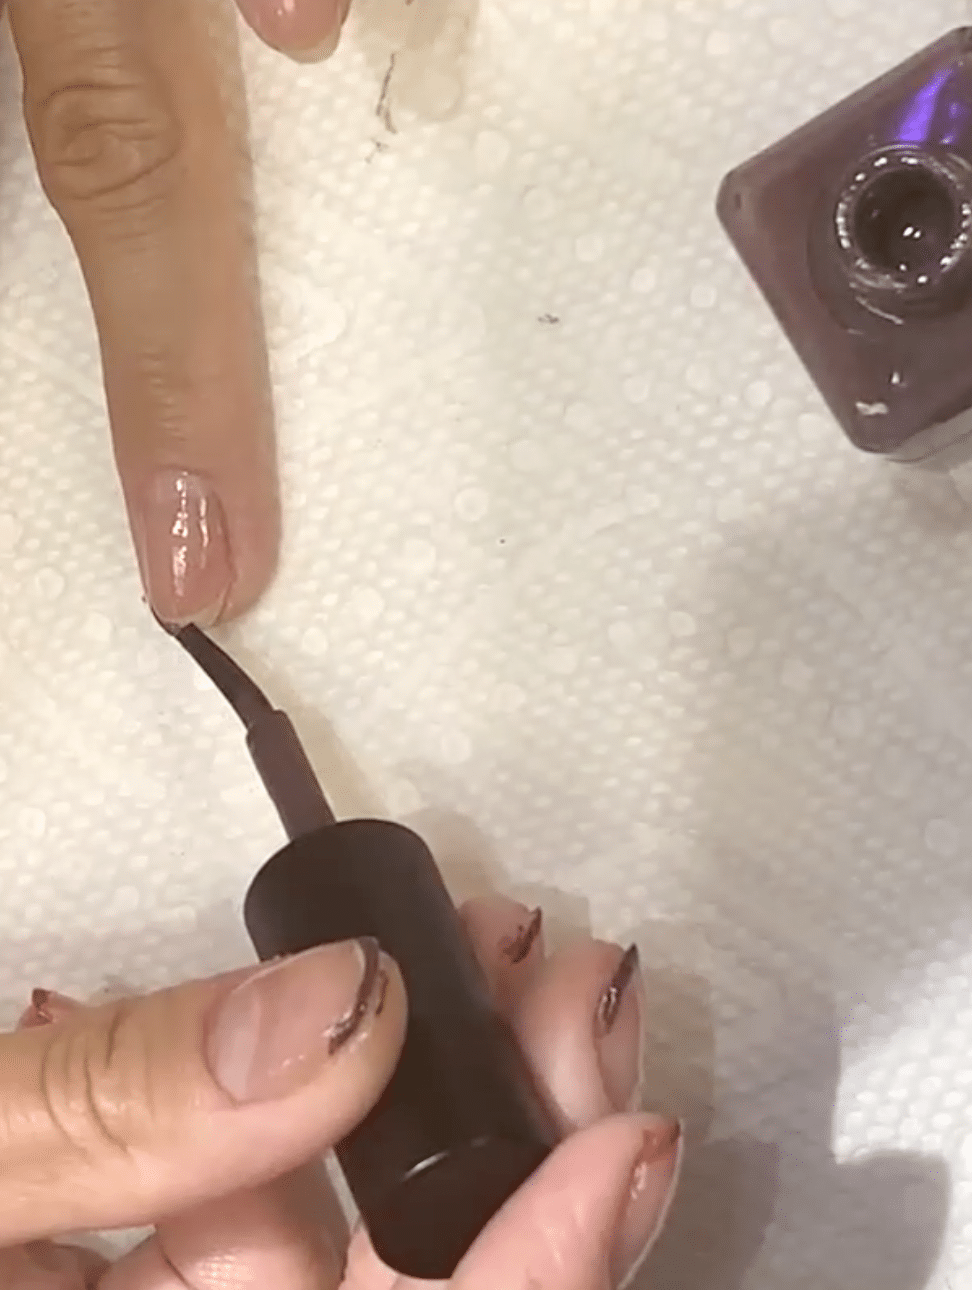
Choose a color and paint a thin line at the tip of your nail from one side (starting at the edge) to the other by either using your nail art brush or regular brush depending on how thin or thick you want your French tip to be. Don’t over brush the tip and try to do it in one stroke. Imagine you’re lightly pressing the tip of your polish brush and sweeping it from one side to the other. If the tip colors are not visible, you may come back and apply a second layer.
Pro tip: you can use your wooden stick if you need to clean up your French tip.
Step 4: Add a top coat
Whew, the hard part is over! Apply a clear top coat to create a glossy layer over your new nail art and to protect your manicure. You should apply at least two coats and wait at least 3 minutes for each layer to dry.
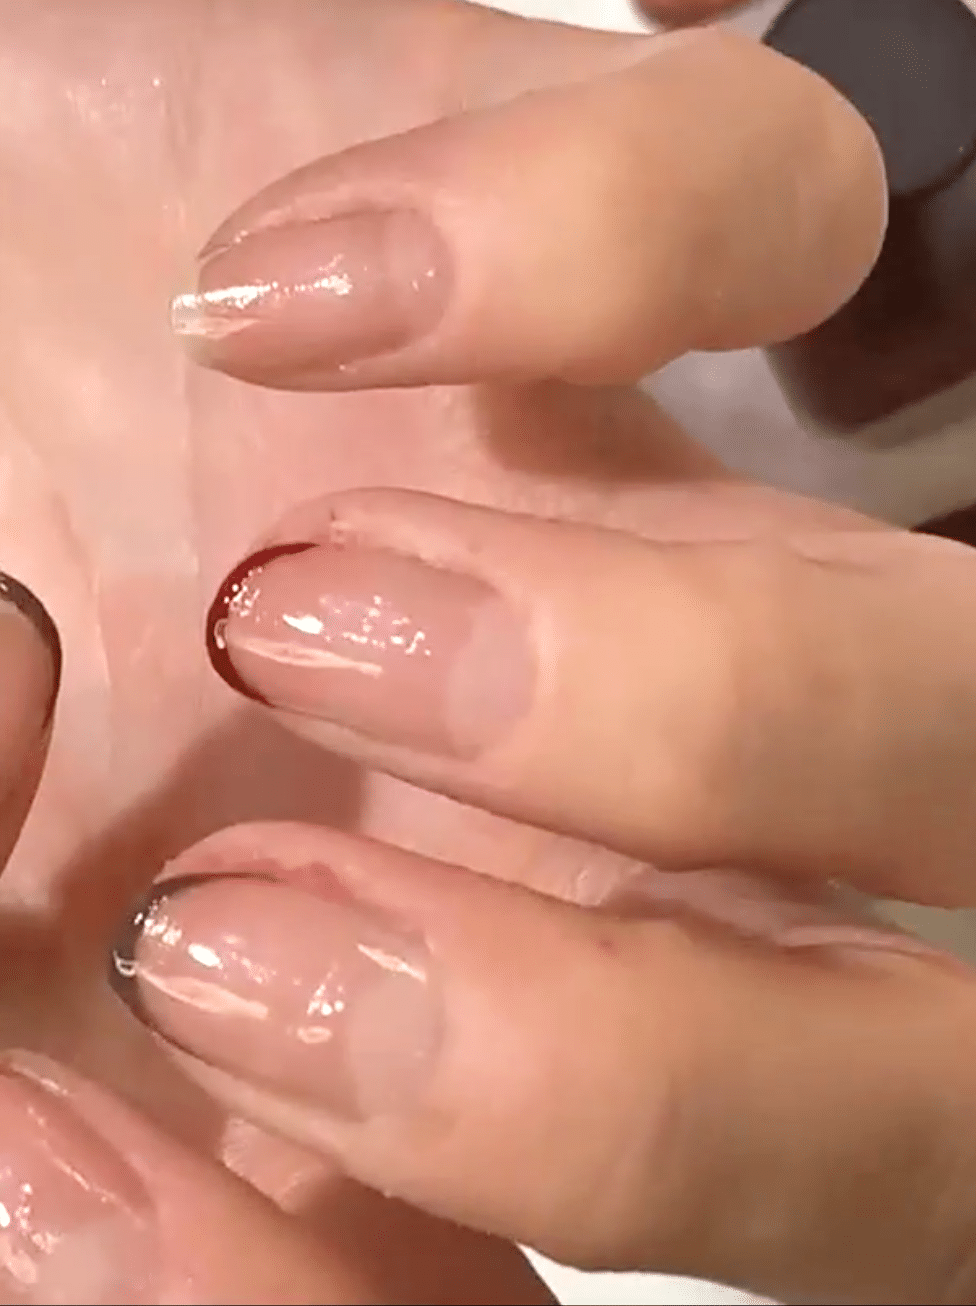
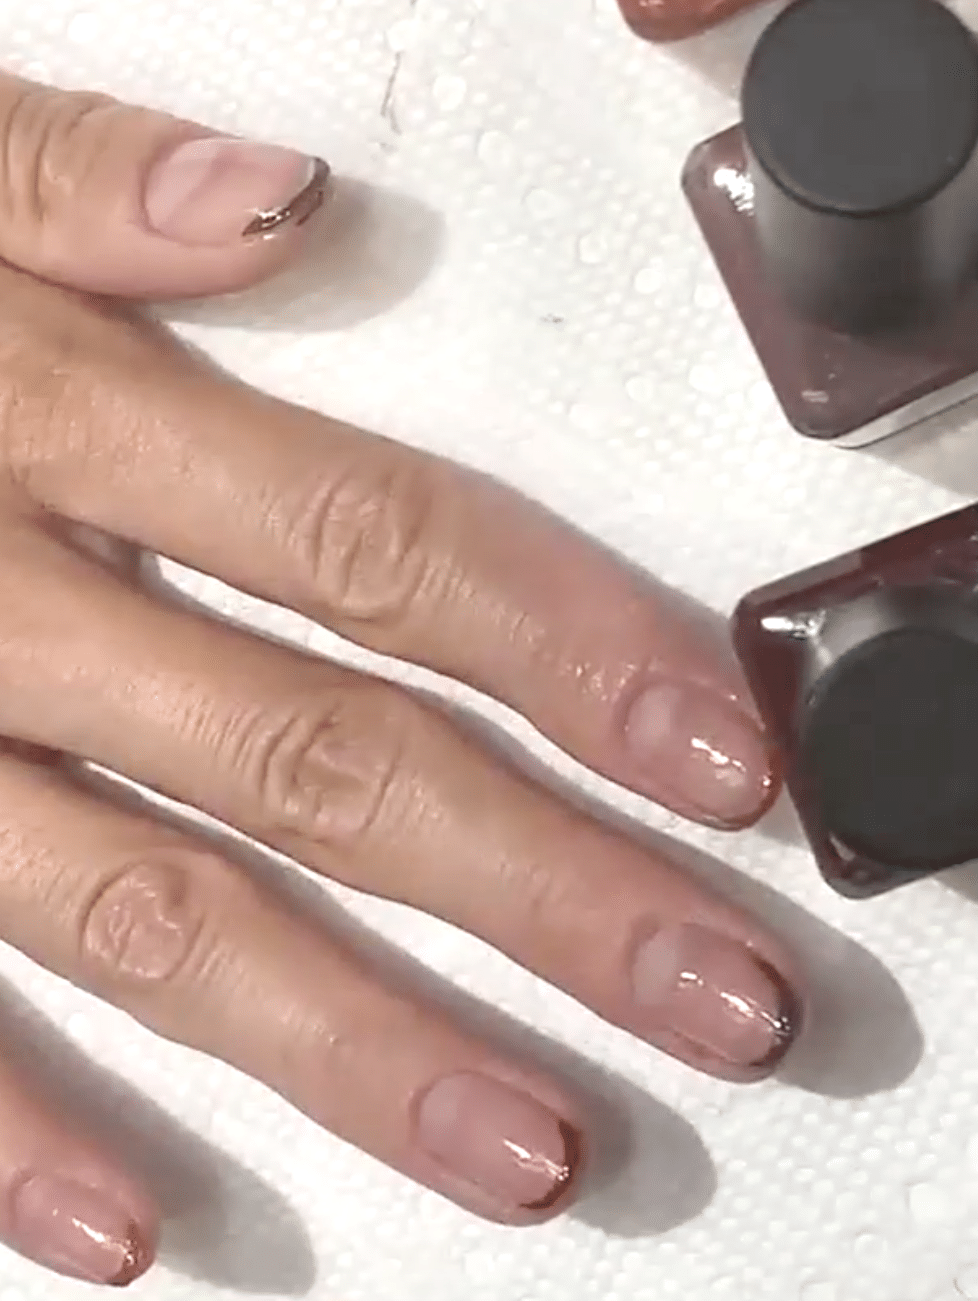
And there you have it! Now you’re an expert at French manis. We hope you enjoyed re-creating this look as much as we have!
Next, check out our expert guide on how to dry nail polish faster.

