Being indoors for prolonged periods of time inevitably leaves all of us in a state of self-reflection and constantly thinking of ways we can fill our time. With Netflix binge, reading and crafts, it’s natural to forget about pampering oneself and nurturing that inner goddess in you with a little self-care at-home manicure ritual.
Many of us restrain from doing an at-home manicure because we are afraid of not doing the perfect job. Our founder, Amy Lin wants to let you know that you shouldn’t be afraid of making mistakes. The goal is to make you feel good, and knowing that you’re taking care of you the best that you can, should be enough.
In that light, Amy wanted to share her tips for at home mani that take under 10 minutes to do! So take those ten minutes for yourself and follow Amy’s handy tips!
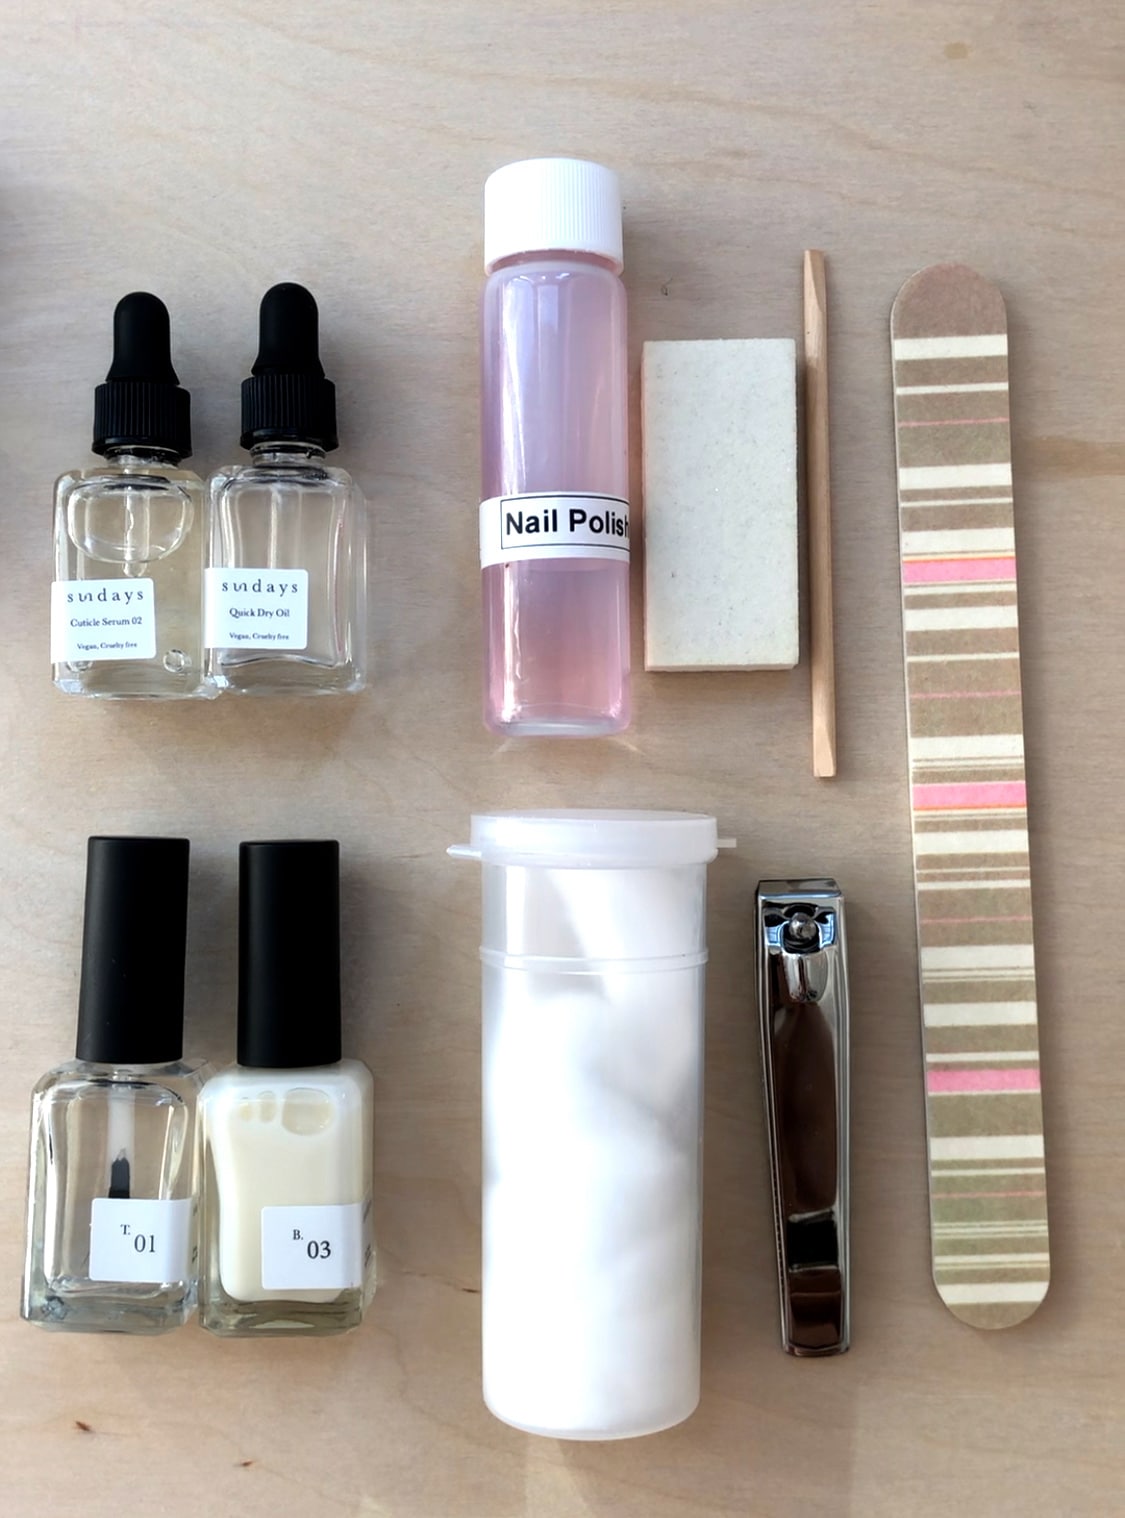
First, what you’ll need is: paper towel, file, buffer, nail clipper, nail polish remover, cotton pad/pieces of a paper towel, base coat, nail polish of your choice, top coat, cuticle oil, wooden stick, quick dry oil (not a must) and hand lotion. Our manicure kit has most of these already! Shop it here.
You won’t believe how many items from your kitchen you can use for your at-home manicure! Some of these optional items are: lemon slice, avocado oil or coconut oil.
Let’s get started with Amy’s at-home manicure!
Step 1: Prepare your nails
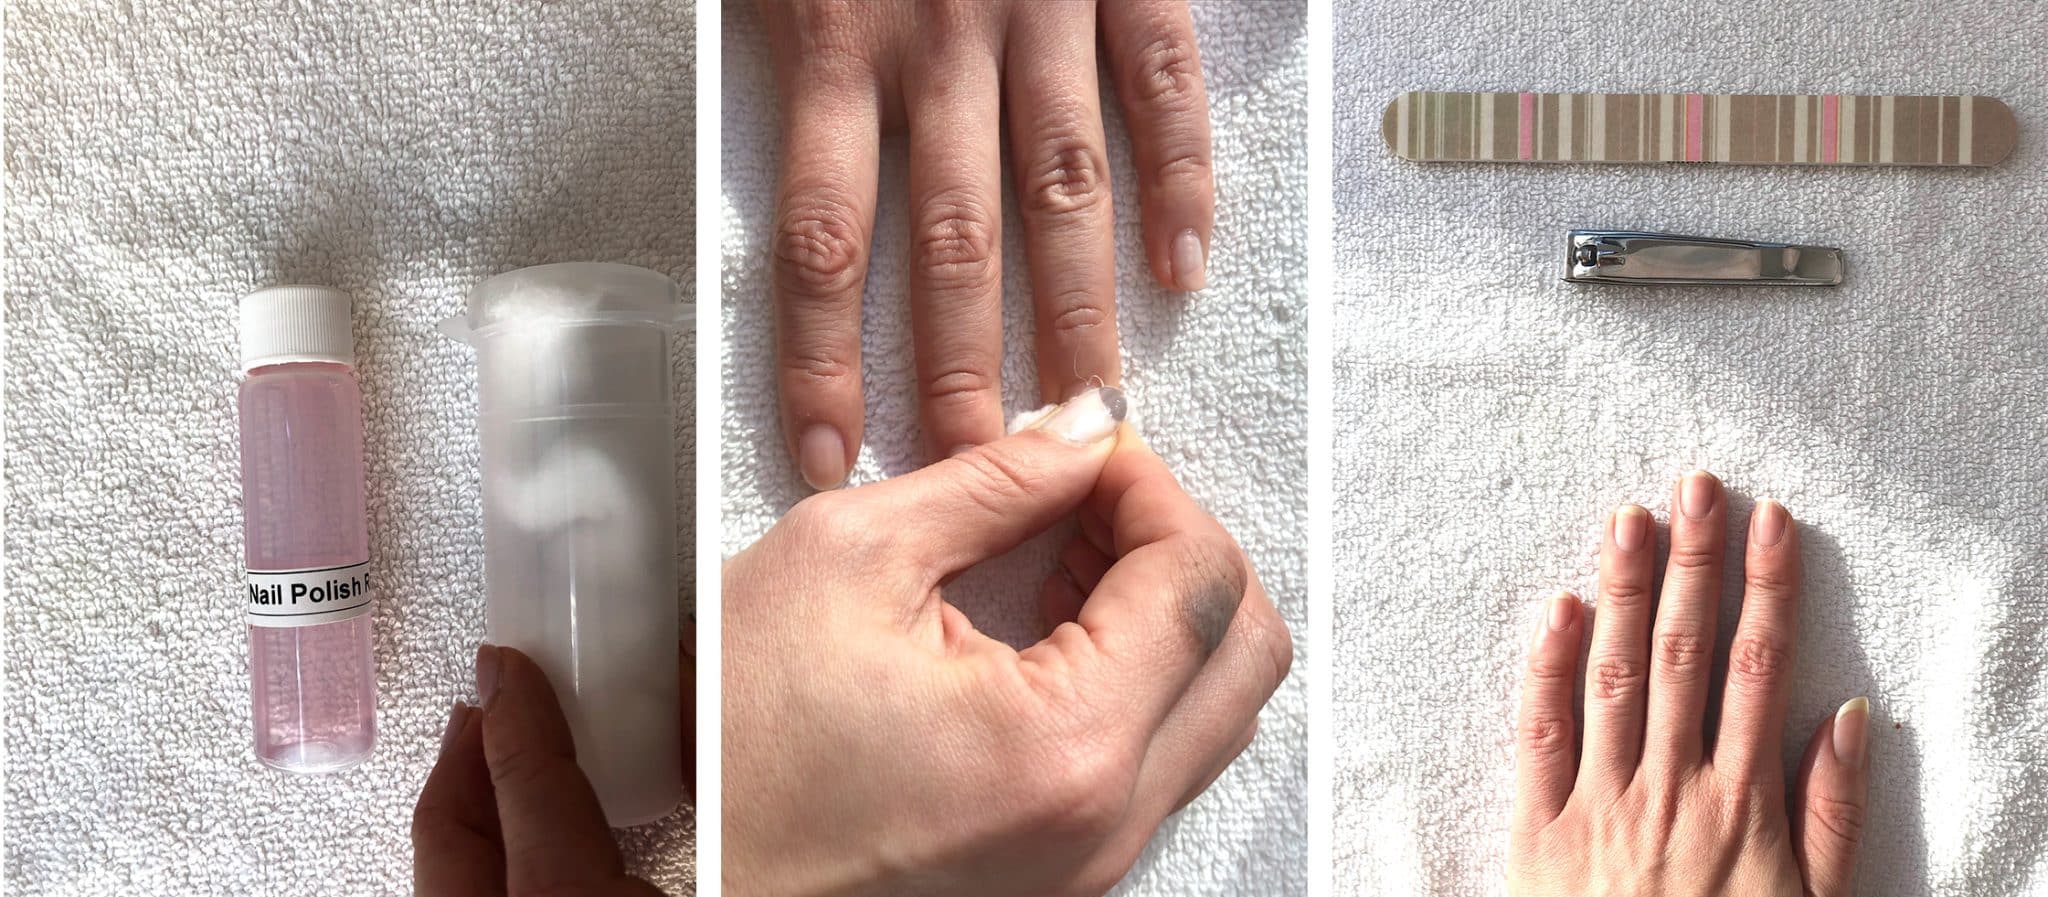
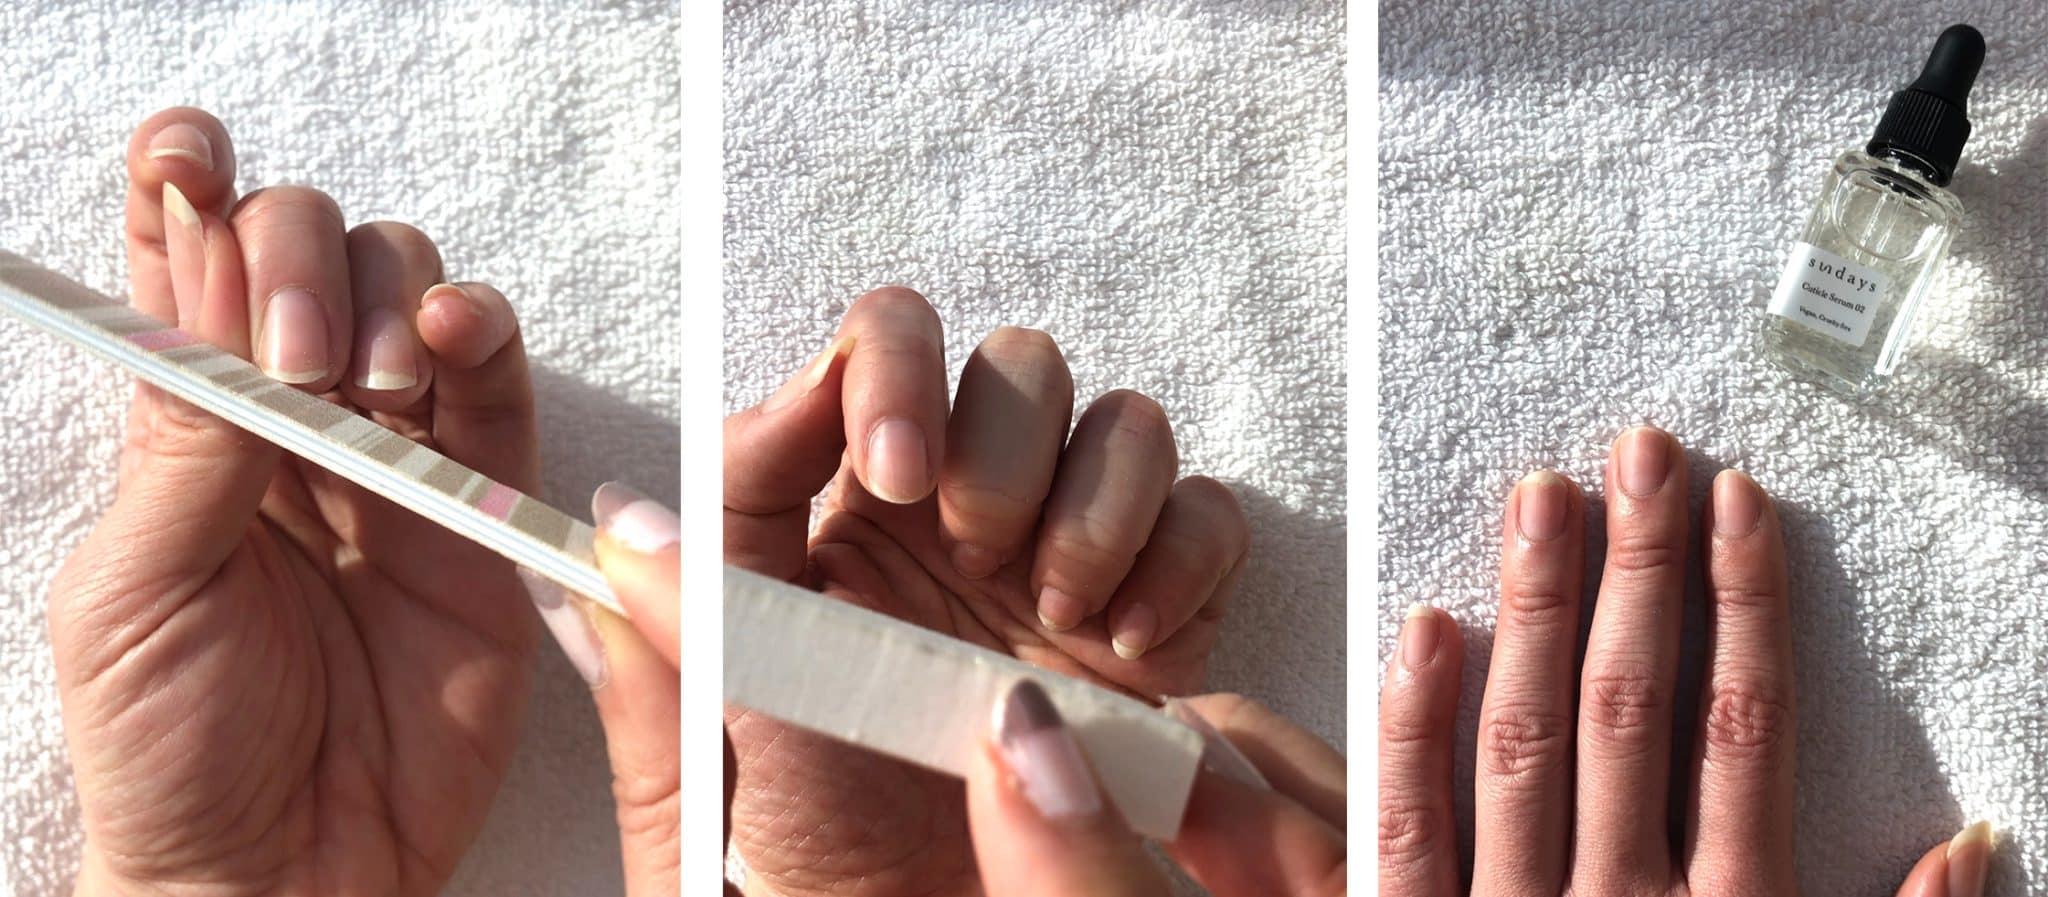
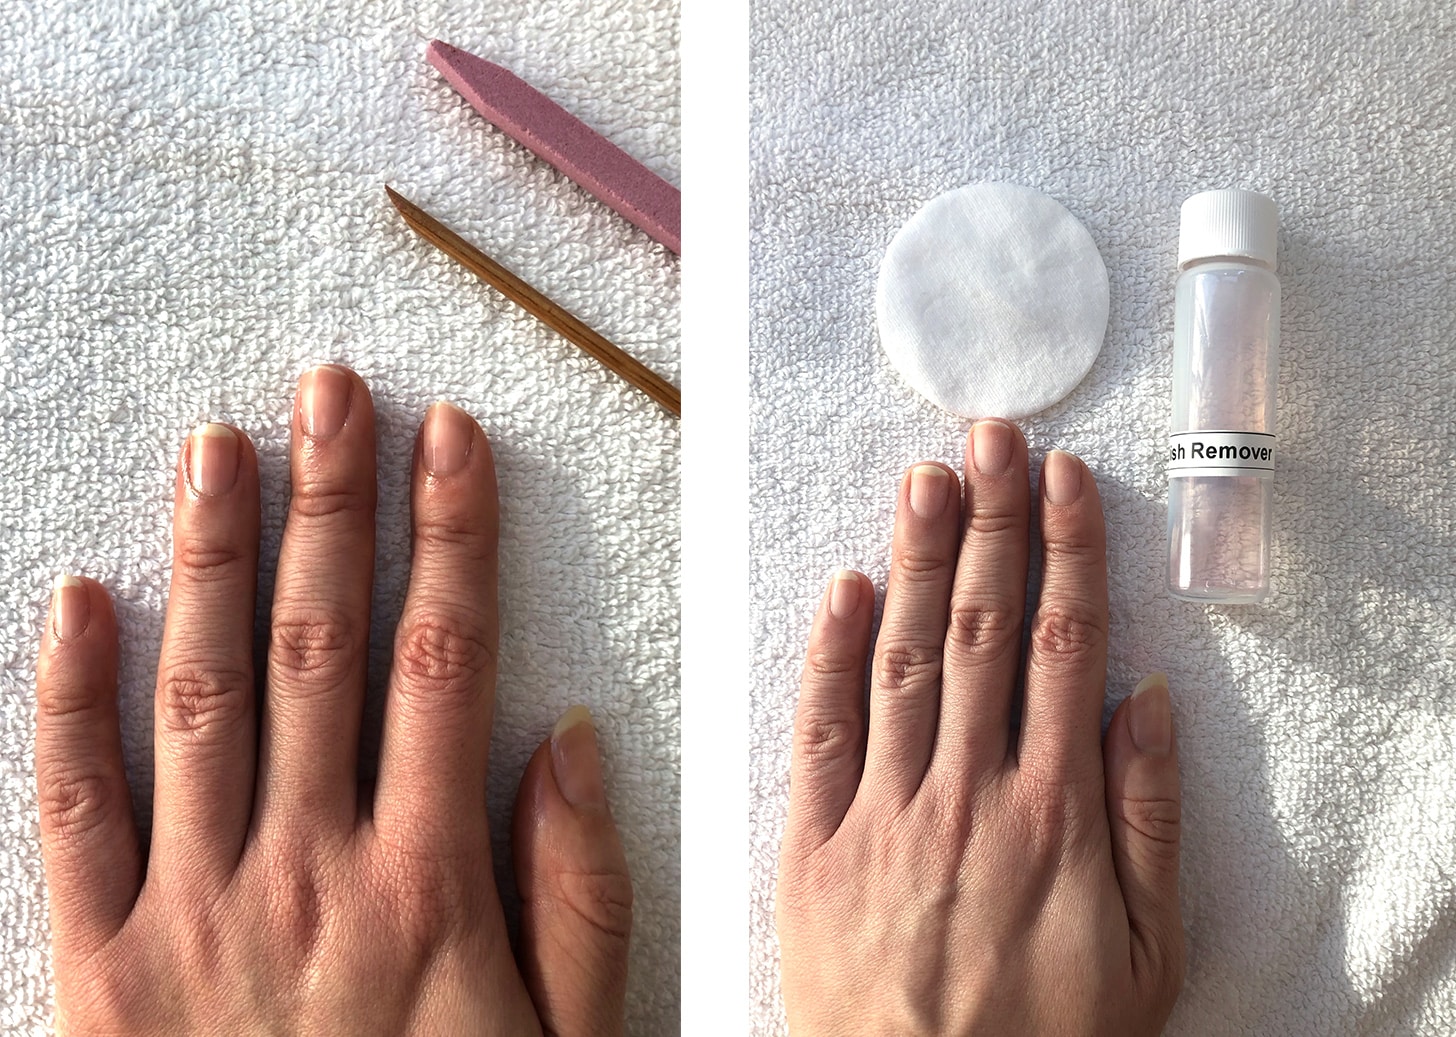
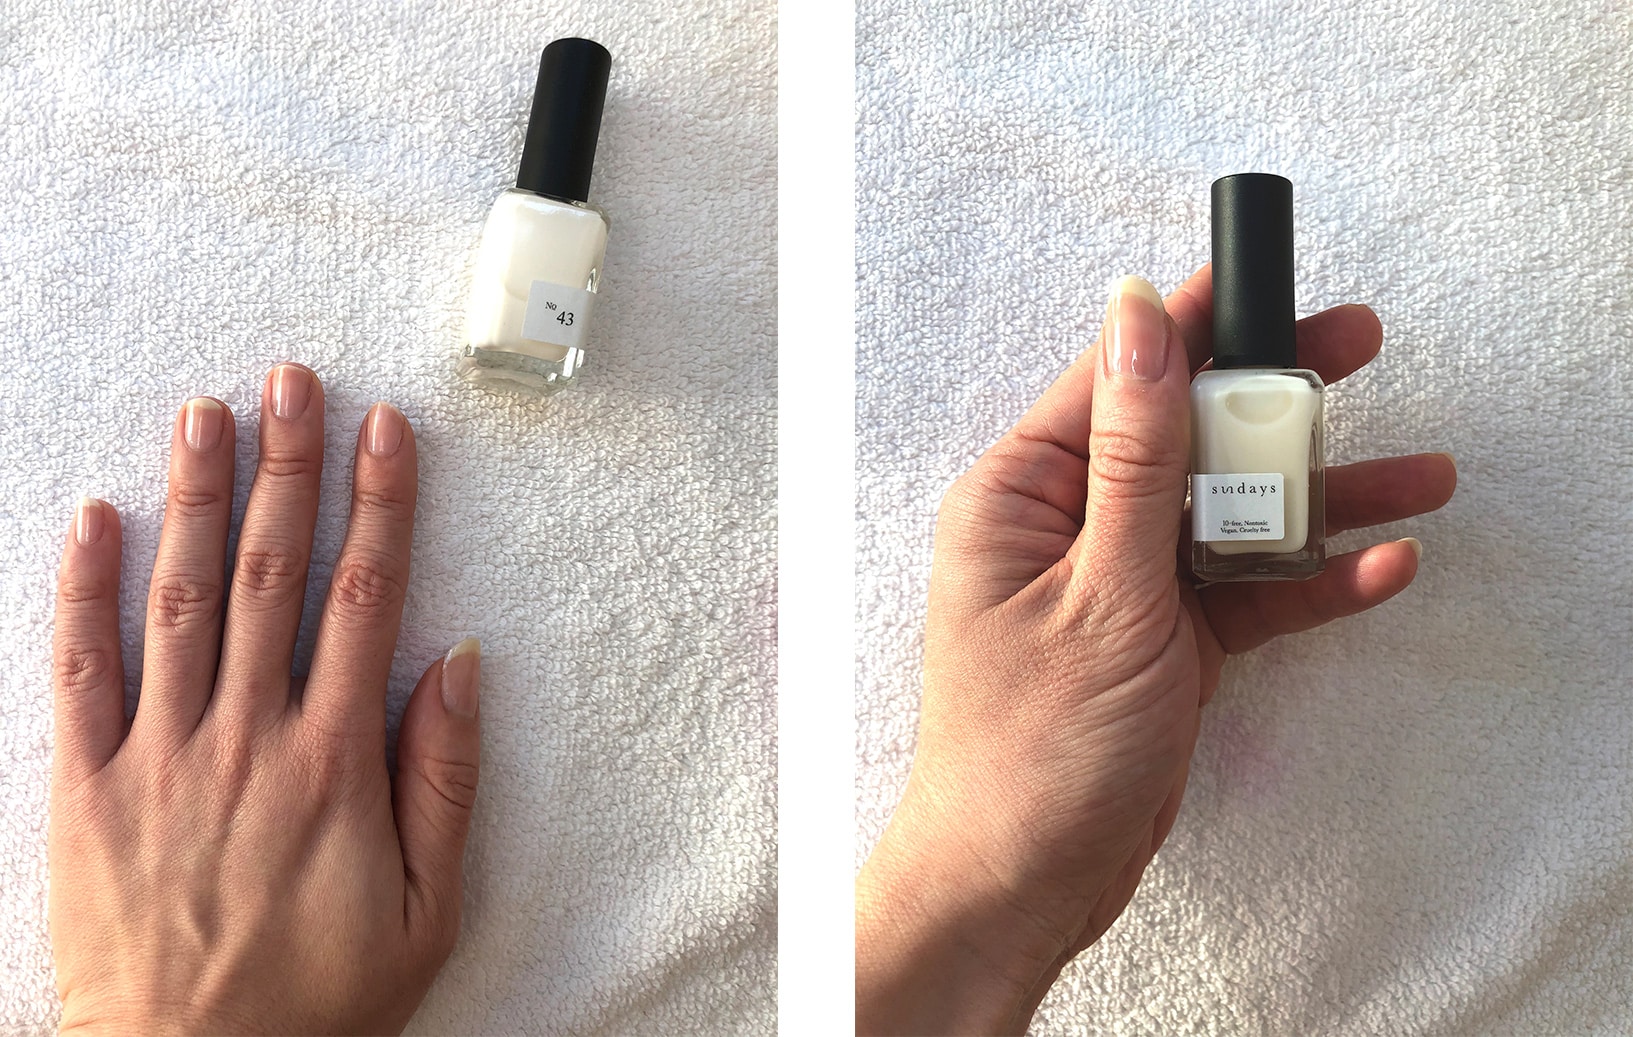
Make sure you wash your hands thoroughly before starting your mani. Cut and file your nails into a shape you like: rounded, square or squoval. You can use a buffer to smooth out the edge, apply cuticle oil and use a wooden stick to push back your cuticles (using the flat side of the wooden stick). Then take a piece of tissue, add nail polish remover, then wipe each nail making sure any residual nail polish is removed. You can use a cotton ball, but it contains lint and leaves residue, so you could use a tissue or paper towel (cut into small pieces) to wipe your nails again. If you don’t want to do the extra cleaning, we recommend using a lint free facial cotton pad, instead of a regular cotton ball or cotton pad. Wash your hands, then apply hand lotion (make sure it’s a good amount of lotion that will allow you to massage your hands without resistance). Massage in the lotion in circular motions and between each finger. Then use a piece of tissue with nail polish remover and wipe each nail to make sure there is no lotion residue on the nail bed.
Pro tip: You can even sanitize your nails using a lemon slice (soak your nails lukewarm water with a lemon slice)!
Clean your nails polish remover, then cut them as desired.
File, buff and apply cuitcle oil.
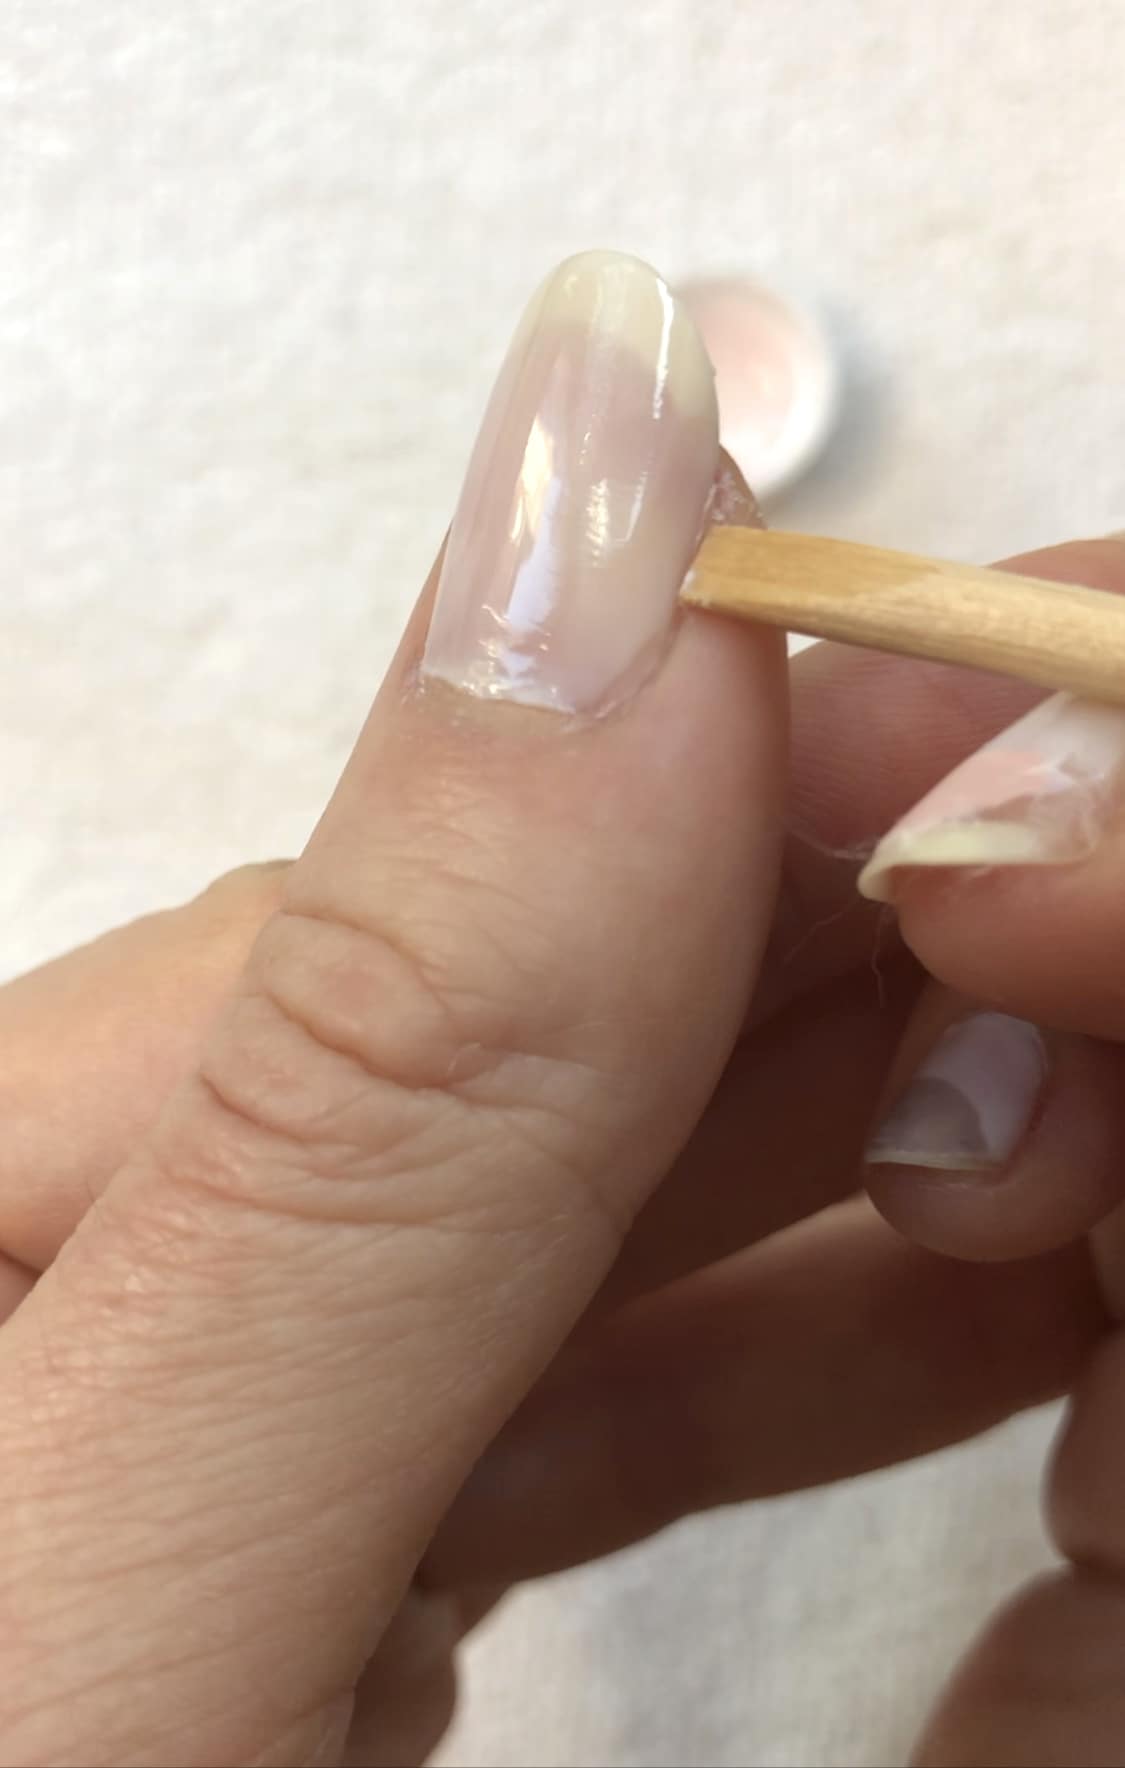
Push your cuticles with the wooden stick, then clean up your nails with the polish remover.
Step 2: Add your base coat
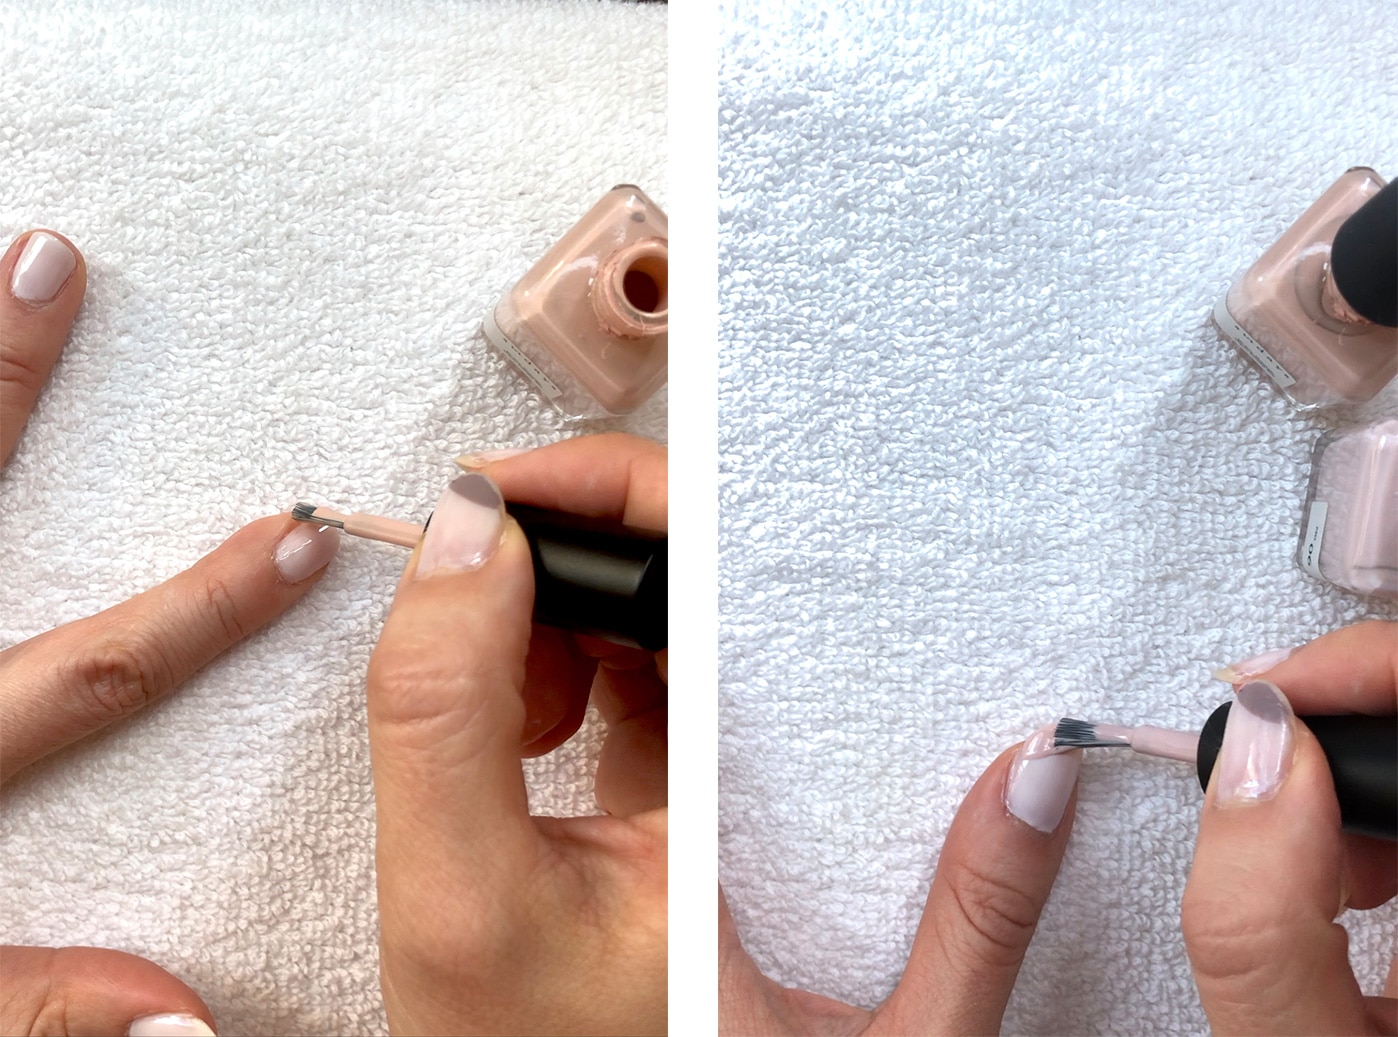
Make sure you’re not putting too much on each nail and let it dry for 1-2 minutes. It’s good to use a base coat if you can, because it keeps your nails healthy and makes your polish last longer, while also hydrating your nails. Our healing base coat is designed to add that hydration to your nails while keeping them healthy and strong before you move on to the next step of adding your color. Use the wooden stick to clean up the sides after you apply your base.
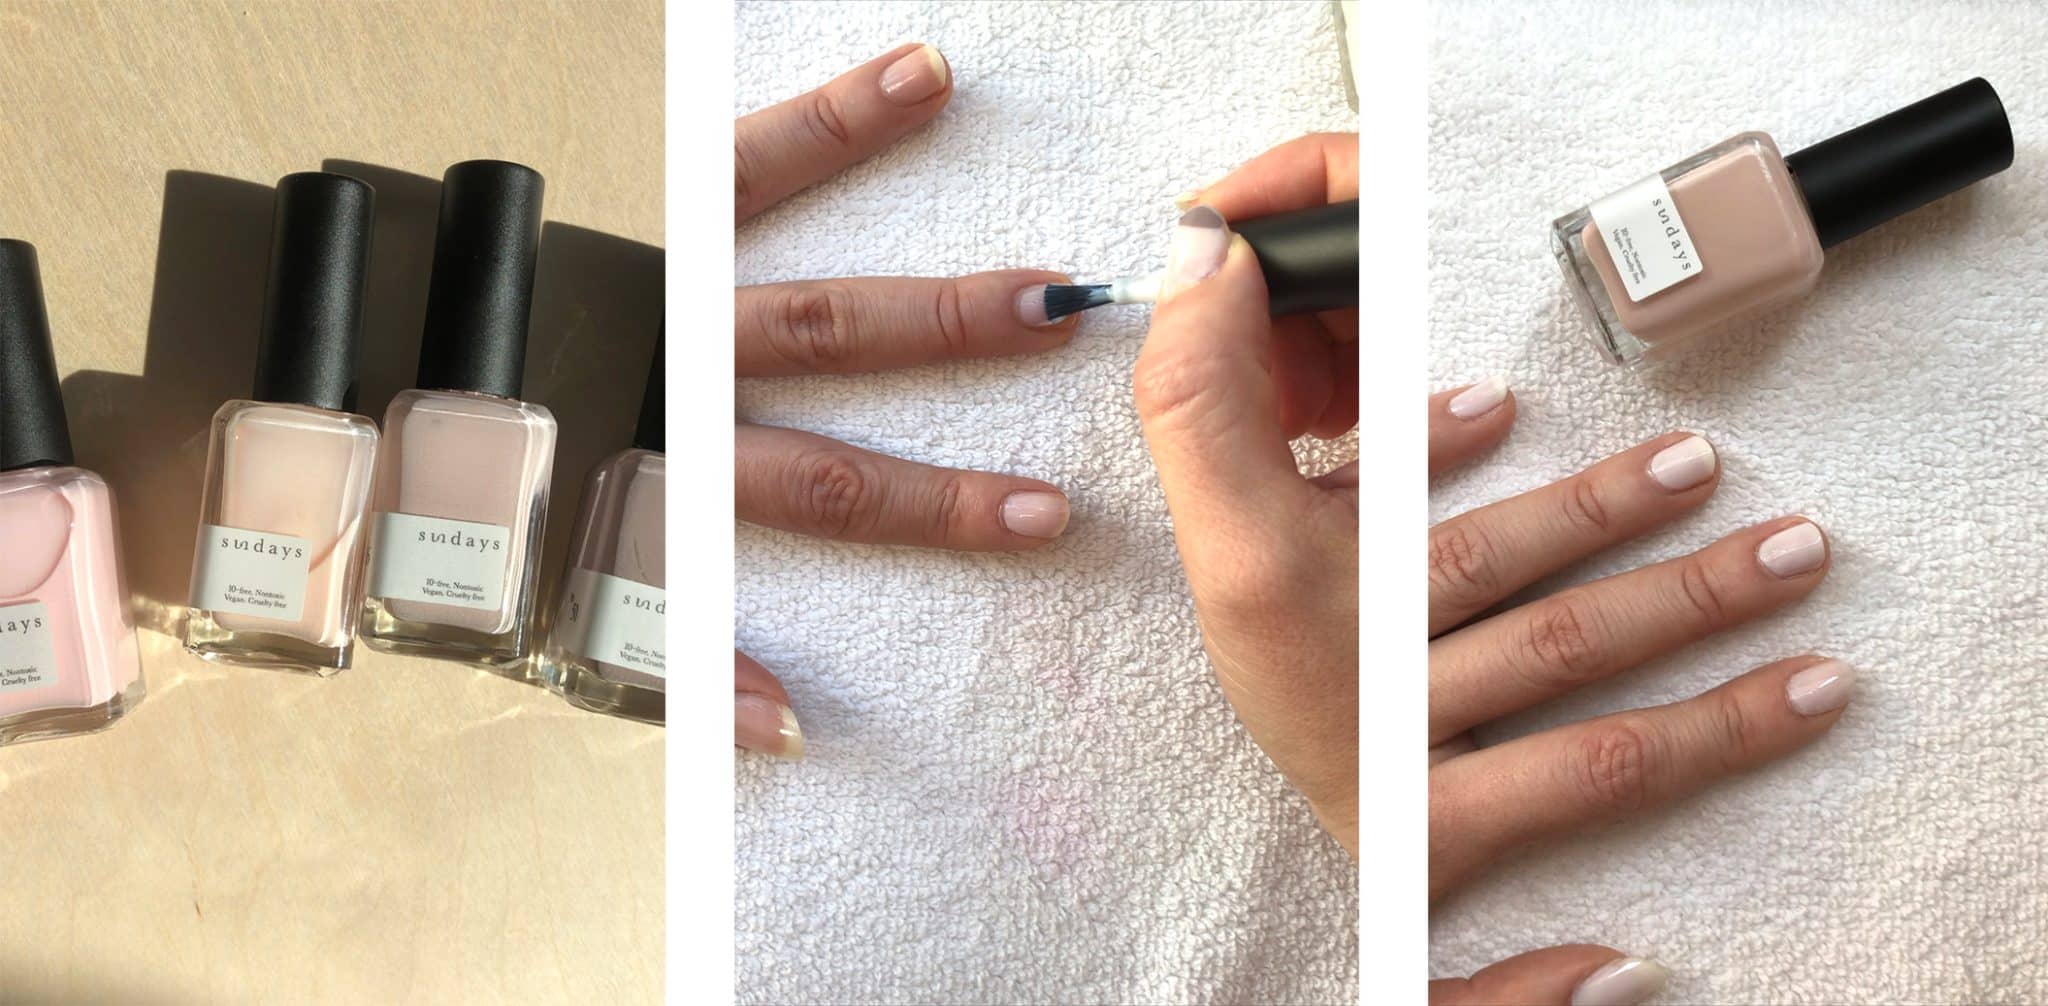
Step 3: Apply your color! Try not to put too much and don’t stress if it’s not perfect! You can always add another layer.
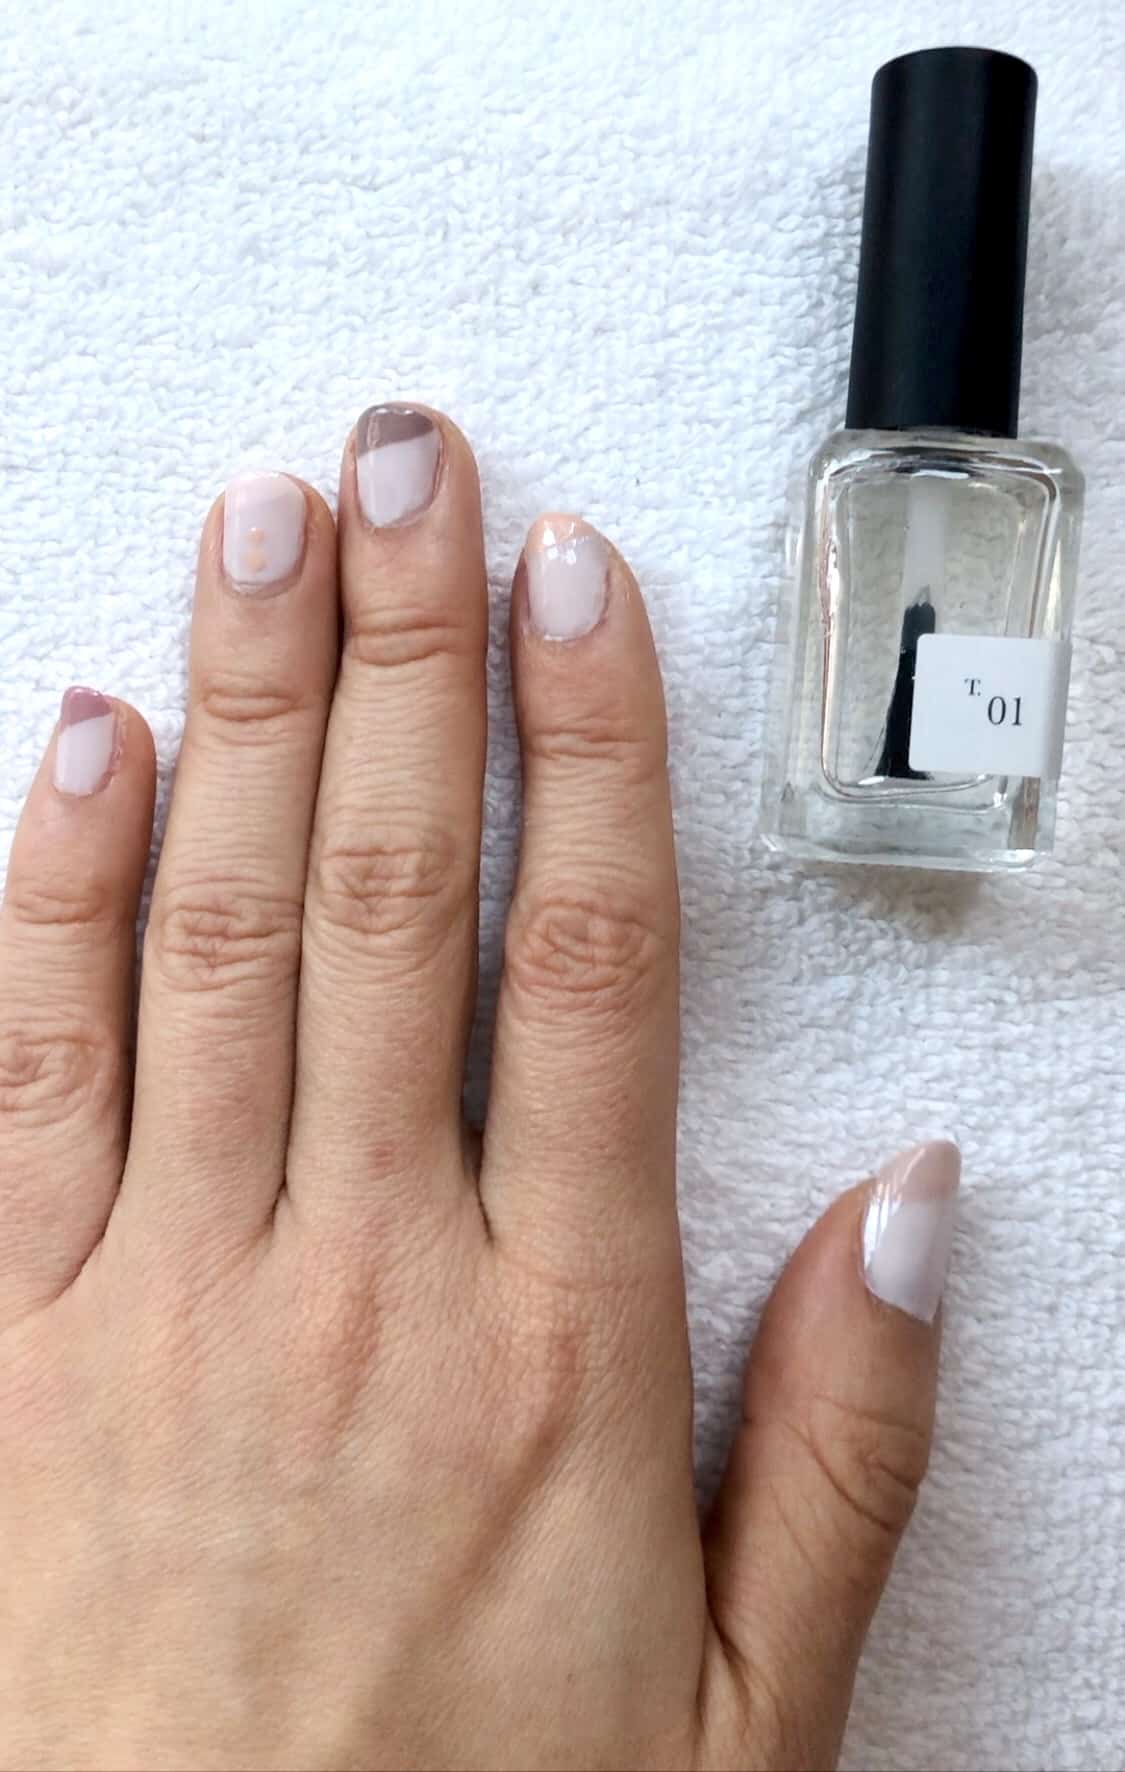
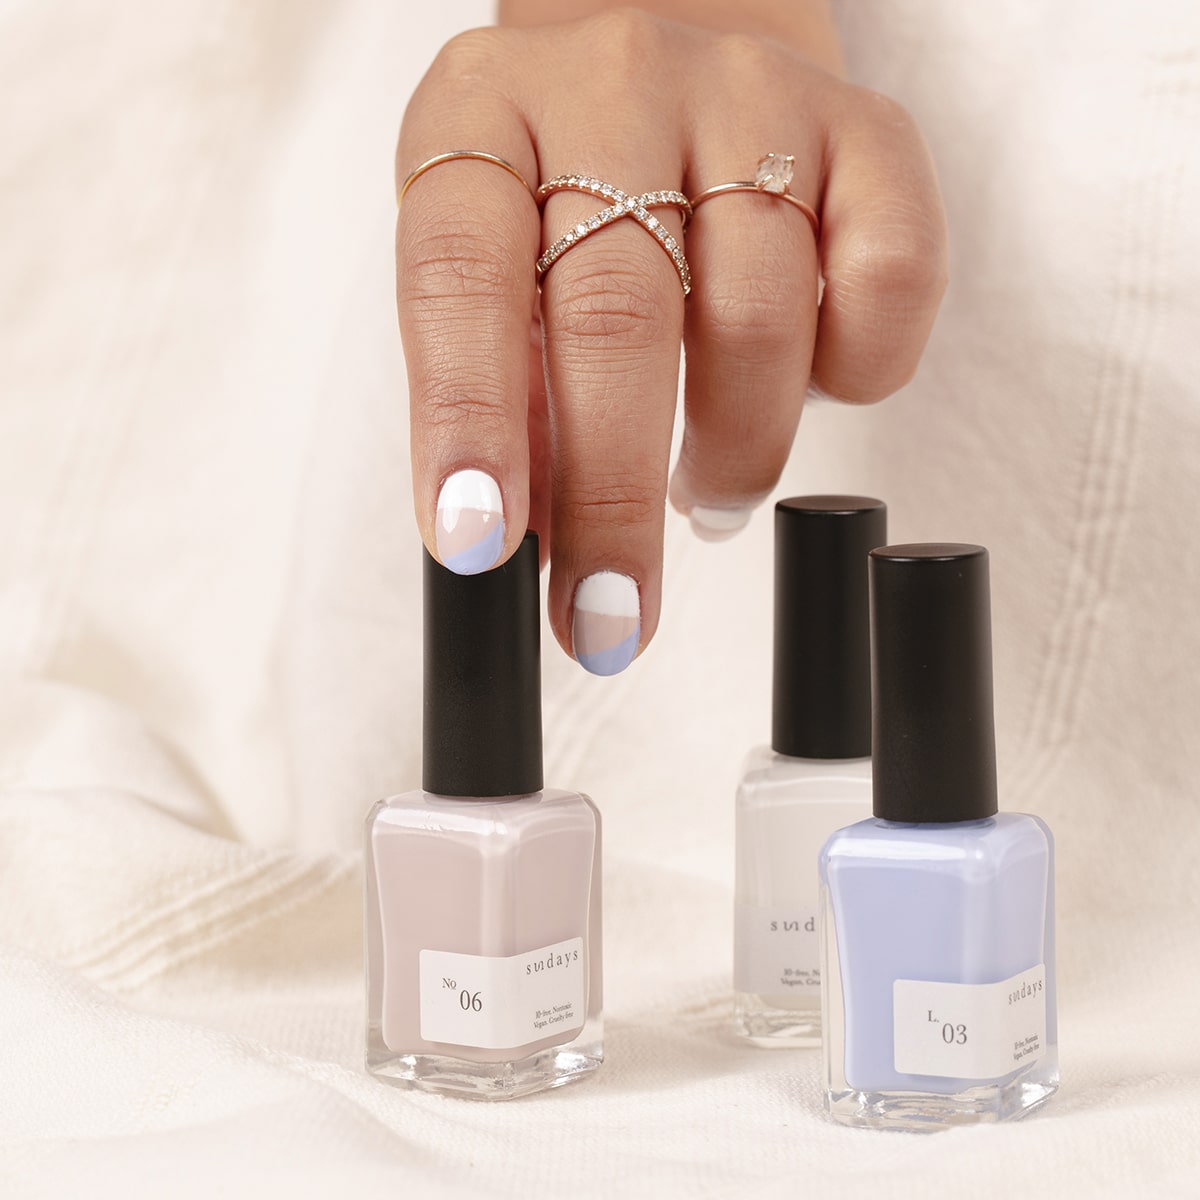
It’s important to think of your health when choosing your nail polish, especially right now. Non-toxic products help protect your immune system as they contain fewer toxins and limit chemical exposure, especially for when you’re at-home and need that extra boost! Check out our non-toxic nail polish shades here! Maybe you can do an at-home manicure with one of our spring colors to help uplift your mood! Feel free to try out some nail art like Amy’s below! You can read more on step by step nail art here.
Pro tip: You can use a wooden stick to clean up any excess polish around your nails!
“The intention should be to try to relax and try to appreciate you taking time for yourself, instead of wanting to do a perfect job.”-Amy Lin
Step 4: Add your top coat
It is definitely recommended to use a top coat on top of your polish. It lets your nails get that nail-salon finish while keeping them healthy and your masterpiece long-lasting! You can check out our magic duo, top and base coat here!
Step 5: Dry your nails
You can air dry your nails or to speed up the drying process use a quick dry oil. Our quick dry oil is designed to add hydration back to your nails and is the perfect addition to your non-toxic wellness routine. Our quick dry oil cuts the drying time in half!
Pro tip: You can add our quick dry oil, which has avocado and coconut oil to help moisturize your cuticles and also prevents your nail polish from getting dented when you are halfway through drying your nails! Or even if you have some avocado or coconut oil in your kitchen-still works!
And voilà! You’ve mastered Amy’s at home manicure! Thank you for taking the time for yourself to practice a little self-care. And of course, everyone has their own way they feel comfortable with when doing their manicures. There is no right or wrong way! So whatever at home manicure routine makes you feel most fulfilled is the right way to go! If you want to see the full at-home manicure video, tune in for Amy’s Mini-Manicures with Iris IGTV on our instagram page.
We would love to see your masterpiece! And we’d feel grateful if you shared your at home manicures with us, through our social (@sundays_studio) as well as how it felt taking those few minutes for yourself to practice a non-toxic wellness routine.
[wpcs id=”23066″]


