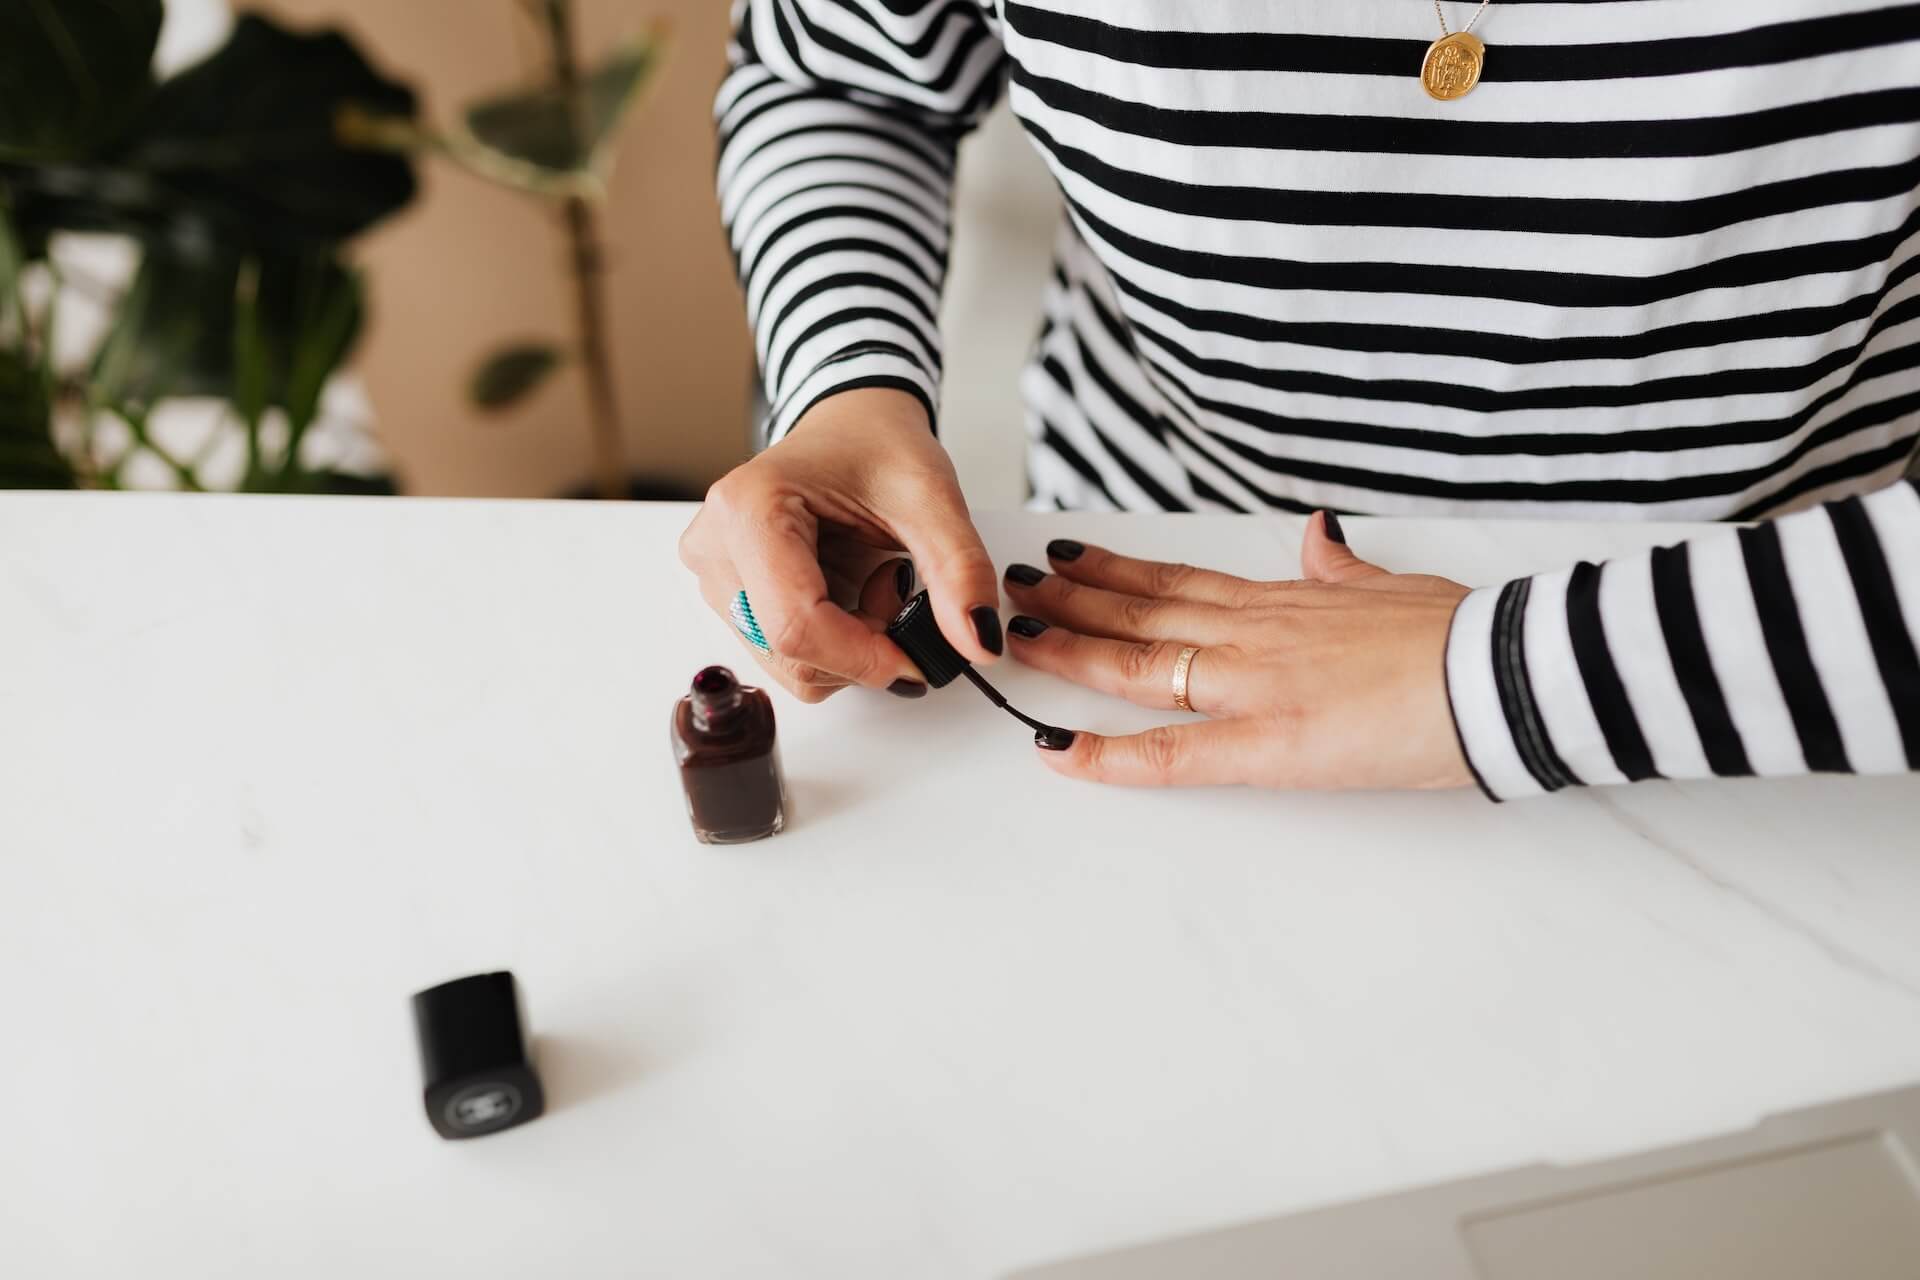
Although a new bottle of nail polish is delightful, the only thing that beats it is knowing that an old bottle of your favorite nail polish is salvageable. As a passionate enthusiast of sustainability and self-care, I was inspired to share how to thin out nail polish and extend its lifespan.
The allure of timeless beauty lies not just in embracing the latest trends but also in cherishing the classics. Your trusted nail polish shades have been with you through thick and thin, and now it is time to return the favor. By learning how to thin out nail polish, you can rejuvenate those cherished hues and give them a chance to shine once more.
Why Does Nail Polish Become Thick or Goopy?
Nail polish thickens or becomes goopy primarily due to evaporation. Nail polishes typically have a shelf life of about two years, but with time the solvents in nail polish will sneakily evaporate if the container is not shut properly. This can result in clumpy, uneven application. Additionally, exposure to extreme temperatures can alter the texture and color of the nail polish. To prevent nail polish from becoming thick or goopy, it is essential to ensure the nail polish is tightly sealed and stored in a cool, dry place.
How Do I Know If My Nail Polish Needs Thinning?
Ever wondered if your nail polish needs a makeover? If you are trying to determine whether your nail polish needs thinning, look out for theses signs:
- When your once-smooth polish starts feeling more like gooey syrup, that is a sign that it is time for some rejuvenation.
- When your polish is not cooperating and leaves uneven streaks or clumps, it is begging for a refresh.
- When your polish is hanging off the brush in strings, it is a clear indicator that your polish needs attention.
If you notice these issues, don’t fret! It is time to thin out your nail polish, bringing life back to your beloved bottles, to restore its original salon-quality and performance.
Things You’ll Need for Thinning Nail Polish
Having the correct tools at hand will ensure you achieve the best results. The main thing you will need for thinning nail polish is a formula specifically designed to restore your polish’s smooth consistency without compromising its color or overall quality. While some may suggest using one drop of pure acetone in a pinch, too much nail polish remover can break down the nail polish formula and potentially lead to the very clumps you want to avoid.
- Nail Polish Thinner: Make sure to equip yourself with this indispensable tool for a seamless experience.
- Clean Glass Dropper or Nail Polish Thinner Brush: These tools help you measure and add the nail polish thinner to the thickened nail polish with precision.
How to Thin Out Nail Polish Like a Pro
From choosing the right nail polish thinner to testing the consistency, I have got you covered. Say goodbye to clumpy polish and hello to a perfect manicure every time. Thin out your nail polish like a seasoned pro with our step-by-step guide:
1. Prepare Your Workspace
Start by setting up a clean and well-ventilated workspace. You will want to work in an area with good airflow to minimize exposure to fumes. Have all your supplies ready and within arms reach.
2. Inspect Your Polish
Examine your nail polish bottle for any visible clumps or separation. If the nail polish appears stuck, which can prevent the thinner from reaching some of the formula, make sure the bottle is tightly closed before placing it in a bowl of warm water to loosen the formula. If the nail polish appears separated, instead of shaking the bottle so that air bubbles form in the nail polish, gently roll the bottle between your palms to mix it before attempting to thin it out.
3. Mix in the Thinner Thoroughly
Using a glass dropper or a nail polish thinner brush, mix in a few drops of nail polish thinner to the thickened nail polish. Start with a small amount and gradually add more if needed. Adding too much thinner can dilute the color and affect the polish’s performance. I recommend 2 drops of thinner for 1 bottle of polish.
4. Test the Consistency
Apply a thin coat of the thinned polish to a test nail to check its consistency. If it is still too thick, repeat steps 2, 3, and 4 until you achieve the desired texture.
5. Store Properly
To prevent your nail polish from thickening in the future, make sure to store it in a cool, dry place away from direct sunlight and humidity. Always keep the cap tightly closed to minimize contact with air.
6. Maintain Regularly
To ensure your nail polish remains in good condition, periodically check your collection for thickening. If you notice any signs of thickening, follow these steps to thin it out promptly.
Amy’s Tips & Best Practices Thinning Nail Polish
It can be challenging to assess the consistency of nail polish after thinning it when you are not sure what to look for. I have learned many lessons from my experience in the nail care industry, after founding and running my own clean nail care business. My goal is to help everyone achieve a nail polish consistency that is both smooth and easy to work with. That is why I am sharing three tips and best practices for thinning nail polish that I have learned over the years.
- The Drip Test: Hold the brush above the bottle and allow a small drop to fall back into it. If the drop forms and then seamlessly merges with the polish in the bottle, then you are on the right track as this indicates the perfect viscosity. The polish should move fluidly and evenly around the brush without any clumps or strings forming.
- The Brush Glide: Test the consistency by applying a thin layer to a test nail. The polish should glide smoothly over the nail without any streaks, bumps, or clumps. It should also level out evenly for that picture-perfect finish.
- The Dry Time: Allow the test nail to dry completely. If your nail polish takes a longer time to dry, it may be due to its thickened consistency. But a well-thinned polish will dry evenly without any uneven patches or smudging.
Summary
Maintaining your nail polish collection is a journey, not a destination. It is a commitment to keeping your favorite shades in pristine condition for years to come. To ensure your nail polishes stay in tip-top shape, regular checks for thickening are essential. And when you do spot the first signs of clumpiness, do not worry – you have your trusty nail polish thinner to bring them back to life.
By thinning those bottles of nail polish and extending their lifespan, you are contributing to a more sustainable beauty routine. It all adds up over time. Reviving thickened nail polish is not just about appearance – it is also about reducing waste and making eco-friendly choices.
Now, with my professional tips and practices, you can ensure your nail polish remains in pristine condition and ready to elevate your style whenever you desire. Mastering the art of a good manicure is easier than you might think. With a bit of care and attention, you can enjoy long-lasting nail polish application without the frustration of clumpy textures.
I hope that you stay connected with our thriving sundays community of nail care enthusiasts. Share your tips, tricks, and color inspirations, and let your unique style shine through. Together, we can celebrate the beauty of self-care and sustainability.


