Your feet have been carrying you all week, and somewhere between the commute and the errands, a pedicure moved from luxury to necessity. Booking a salon appointment is not always possible, and even when it is, not every salon uses products you would choose yourself. A well-executed at-home pedicure can absolutely match the results you get from a professional, as long as you work through the steps with care.
Most at-home pedicure tutorials jump straight to nail polish color without a single word about what is actually in the bottle. For clean beauty fans, that gap matters. The formula in your polish, the remover you reach for first, and even the cuticle product you use all have ingredient profiles worth considering. This guide covers every step with that lens in mind.
Here is what you will find: a complete tools and products checklist, a ten-step process from polish removal through cuticle oil, tips for making results last longer, signs it is time to see a professional, and a FAQ that answers the questions most people search before starting.
What You Need: Tools and Products for a Complete At-Home Pedicure
Gathering everything before you start saves you from getting up mid-soak with wet feet. Here is the full list: foot soak basin or a clean bucket large enough for both feet, nail clippers (toenail-specific, with a straight edge), nail file or emery board, cuticle pusher (metal or orangewood stick), toe separators, foot scrub or pumice stone, moisturizer or foot cream, base coat, nail polish, top coat, and cuticle oil.
From a clean beauty standpoint, three products on that list deserve extra attention: your nail polish, your polish remover, and your cuticle oil. Conventional nail polish can contain formaldehyde, toluene, and dibutyl phthalate. A 10-free formula strips those out along with seven other common offenders. The remover matters too. Acetone-based removers do the job fast but strip natural oils from the nail plate and surrounding skin. A soy-based or non-acetone remover is a gentler starting point, especially if you do pedicures frequently.
Step-by-Step Pedicure Process
Step 1: Remove Old Polish
Start with clean nails before anything else. Soak a cotton pad with your remover and hold it against each nail for a few seconds before wiping. This is more effective than scrubbing and reduces skin irritation. If you want a non-acetone option designed specifically for this, the Dear Sundays Soy Polish Remover is formulated without acetone or harsh solvents. Finish by wiping each nail with a clean dry cotton pad to remove any remover residue.
Step 2: Soak and Soften Feet
Fill your basin with warm water. Add a tablespoon of sea salt if you have it, or a small amount of a gentle bath oil. Soak for 10 to 15 minutes. This step softens the cuticles, loosens dead skin on the heels, and gives you a moment to decompress before the hands-on work begins. Do not soak longer than 15 minutes — oversoaking can waterlog the nail plate, which causes polish to lift faster after application.
Step 3: Trim and Shape Nails
Dry your feet thoroughly before trimming. Cutting nails when they are still wet increases the chance of jagged edges. Use straight-edged toenail clippers and cut across in a straight line rather than following the curve of the toe. Cutting nails in a curve or too short at the corners is the most common cause of ingrown toenails. After clipping, smooth any rough edges with a nail file, working in one direction rather than sawing back and forth.
Step 4: Address Cuticles
The cuticle is a protective seal. Cutting it can create small openings that allow bacteria to enter. Instead, push the cuticle back gently with a cuticle pusher after soaking, when the skin is still soft from the water. The American Academy of Dermatology recommends against cutting cuticles during a home pedicure for exactly this reason.
Step 5: Exfoliate and Soften
Apply a foot scrub or use a pumice stone on the heels and any rough patches. Work in small circular motions, focusing on areas where skin is dry or calloused. Rinse thoroughly and pat dry. Do not use a pumice stone on broken or irritated skin.
Step 6: Moisturize Feet and Legs
Apply your foot cream or body moisturizer now and let it absorb fully before moving to polish. Take this step seriously: dry skin around the nail bed and edges will show even with a perfect polish job. Massage the product into your feet, ankles, and lower legs. Give it five full minutes to absorb. If you are in a hurry, wipe the nail plate itself with a clean dry cotton pad before base coat to remove any oily residue.
Step 7: Apply Base Coat
Separate your toes with toe separators. Apply a thin coat of base coat across each nail, capping the tip by brushing across the edge. Let it dry before moving forward. Base coat protects the nail plate from pigment staining and gives the polish something to grip. If you are using products from the clean nail care collection, the base coat is formulated without the harsh plasticizers found in conventional products.
Step 8: Apply Nail Polish
Apply your first coat of polish in thin, even strokes. Start at the center of the nail, near the base, and draw toward the tip. Thin coats dry faster and last longer than thick ones. Wait two to three minutes between coats. Apply a second thin coat the same way. The nail polish collection includes a full range of shades formulated to a 10-free standard.
Step 9: Apply Top Coat
Apply top coat while the polish is still slightly tacky rather than fully dry. A top coat seals the color, adds shine, and significantly extends wear time. Cap the tip again, brushing across the edge to seal the full nail. Wait two full minutes after top coat before touching anything.
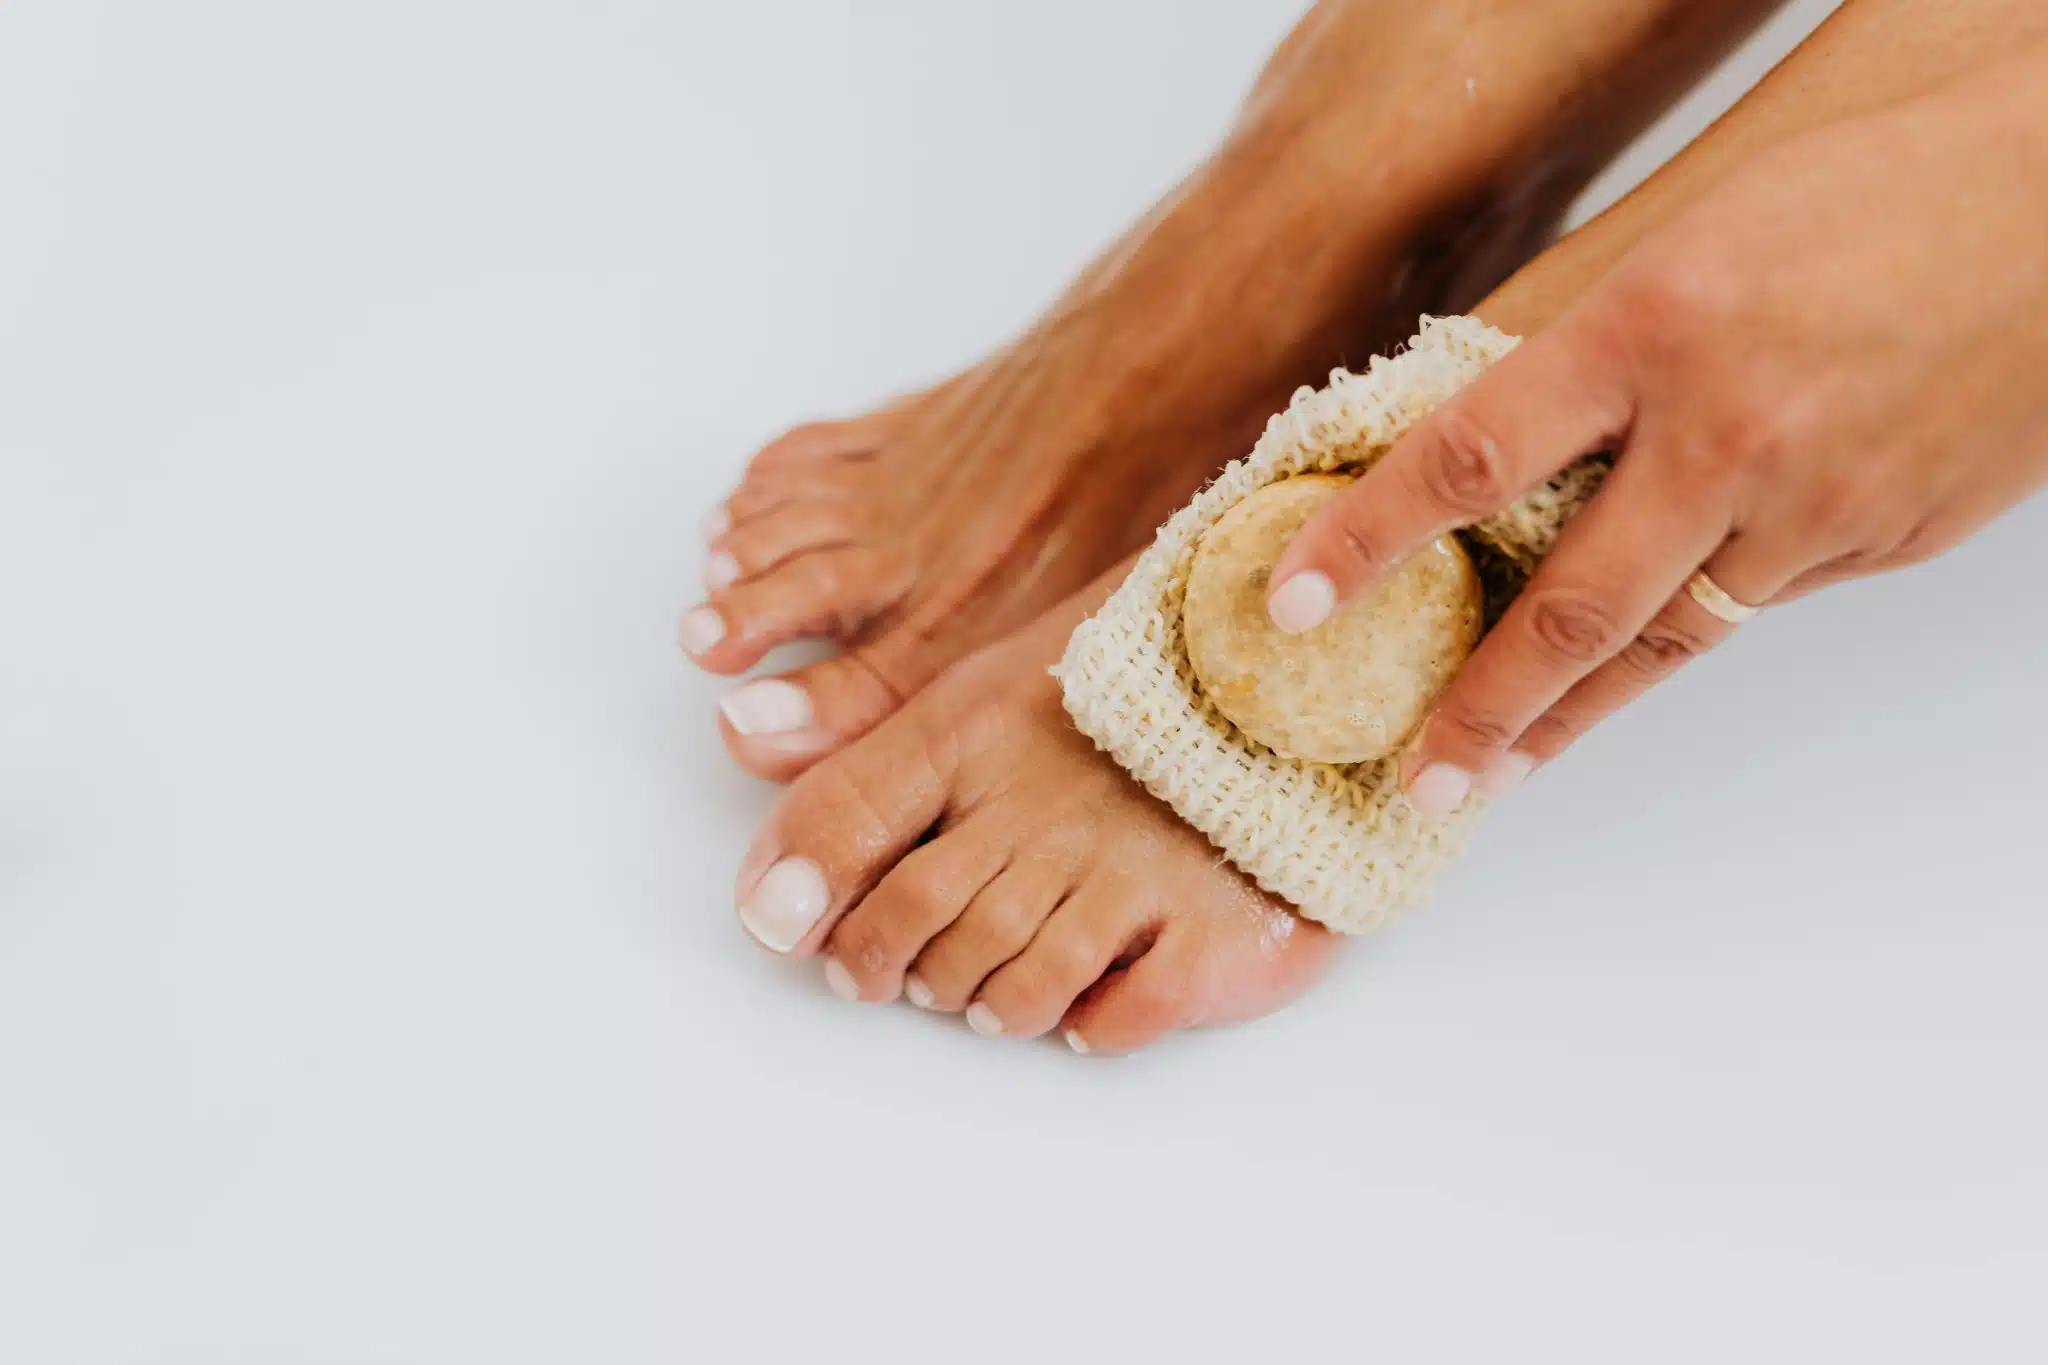
Step 10: Apply Cuticle Oil
Once the polish has dried completely, apply cuticle oil around the nail edge and gently massage it into the surrounding skin. Cuticle oil keeps the skin around the nail flexible, reduces peeling, and improves the overall look of the nail. Apply it daily between pedicures for the best results.
Tips for Longer-Lasting At-Home Pedicure Results
Dry time is the most underestimated factor. Polish that feels dry to the touch after ten minutes is not fully cured. Walk carefully for at least an hour and avoid tight footwear for the first two hours. Choose open-toed shoes or loose footwear the day of your pedicure.
Reapply top coat every three to four days. This single step can extend the life of a pedicure by a week or more. Keep cuticle oil in a visible spot so you remember to apply it daily. Hydrated cuticles reduce chipping at the nail edge. Avoid long baths and pool time in the first 24 hours after polish application.
When to See a Professional
At-home pedicures cover most routine maintenance, but there are situations where professional care is the right call. If a toenail is ingrown and the surrounding skin is red, swollen, or tender, see a podiatrist. Yellow, thickened, or crumbling nails are possible signs of nail fungus. Persistent dark streaks or spots under the nail should always be evaluated by a physician.
For professional nail services in New York City, NYC nail studios use non-toxic, clean beauty products throughout every service — the same 10-free standard as their at-home line.
Frequently Asked Questions
How long does an at-home pedicure take from start to finish?
A complete at-home pedicure takes between 60 and 90 minutes. The soak is 10 to 15 minutes, the steps through moisturizing take 20 to 30 minutes, and polish application and drying add another 30 to 45 minutes. Rushing the drying portion is the most common cause of smudged results.
How often should you do a pedicure at home?
Every three to four weeks is a reasonable interval for most people. Using cuticle oil daily between pedicures keeps skin condition stable and extends the life of each session.
Is non-acetone nail polish remover as effective as acetone?
Non-acetone removers take slightly longer to break down polish, particularly dark shades or glitter formulas, but they are effective with a few extra seconds of contact time. The tradeoff is meaningfully less drying to the nail plate and surrounding skin.
What does 10-free nail polish mean?
10-free nail polish is formulated without ten specific chemicals that appear in conventional polishes, including formaldehyde, formaldehyde resin, toluene, dibutyl phthalate (DBP), camphor, ethyl tosylamide, xylene, triphenyl phosphate (TPHP), parabens, and acetone. The 10-free standard is one of the cleaner formulation benchmarks in the nail polish market.
Can you do a pedicure without a foot soak?
You can, but the results will be noticeably different. Soaking softens the cuticles and calloused skin, making the subsequent steps more effective. If you skip the soak, spend more time on cuticle care with a dedicated cuticle softener product.
How do you prevent nail polish from chipping on toenails?
Cap the tip of each nail when applying base coat, color coats, and top coat. Reapply top coat every three to four days. Avoid extended water exposure in the first 24 hours, and apply cuticle oil daily to keep the skin around the nail edge flexible.
Conclusion
A good at-home pedicure does not require a salon-sized kit or an afternoon. It requires working through each step without skipping the ones that feel slow — like soaking, drying time, and daily cuticle care between sessions.
For the products that make the biggest difference, the Dear Sundays nail care collection covers every step from remover through cuticle oil in clean, 10-free formulations. If you are in New York City and prefer a professional service with the same ingredient standards, book an appointment at a Dear Sundays studio in SoHo, NoMad, East Village, Upper East Side, or Hudson Yards.


