You found our list of steps to achieve chic negative space nail art!
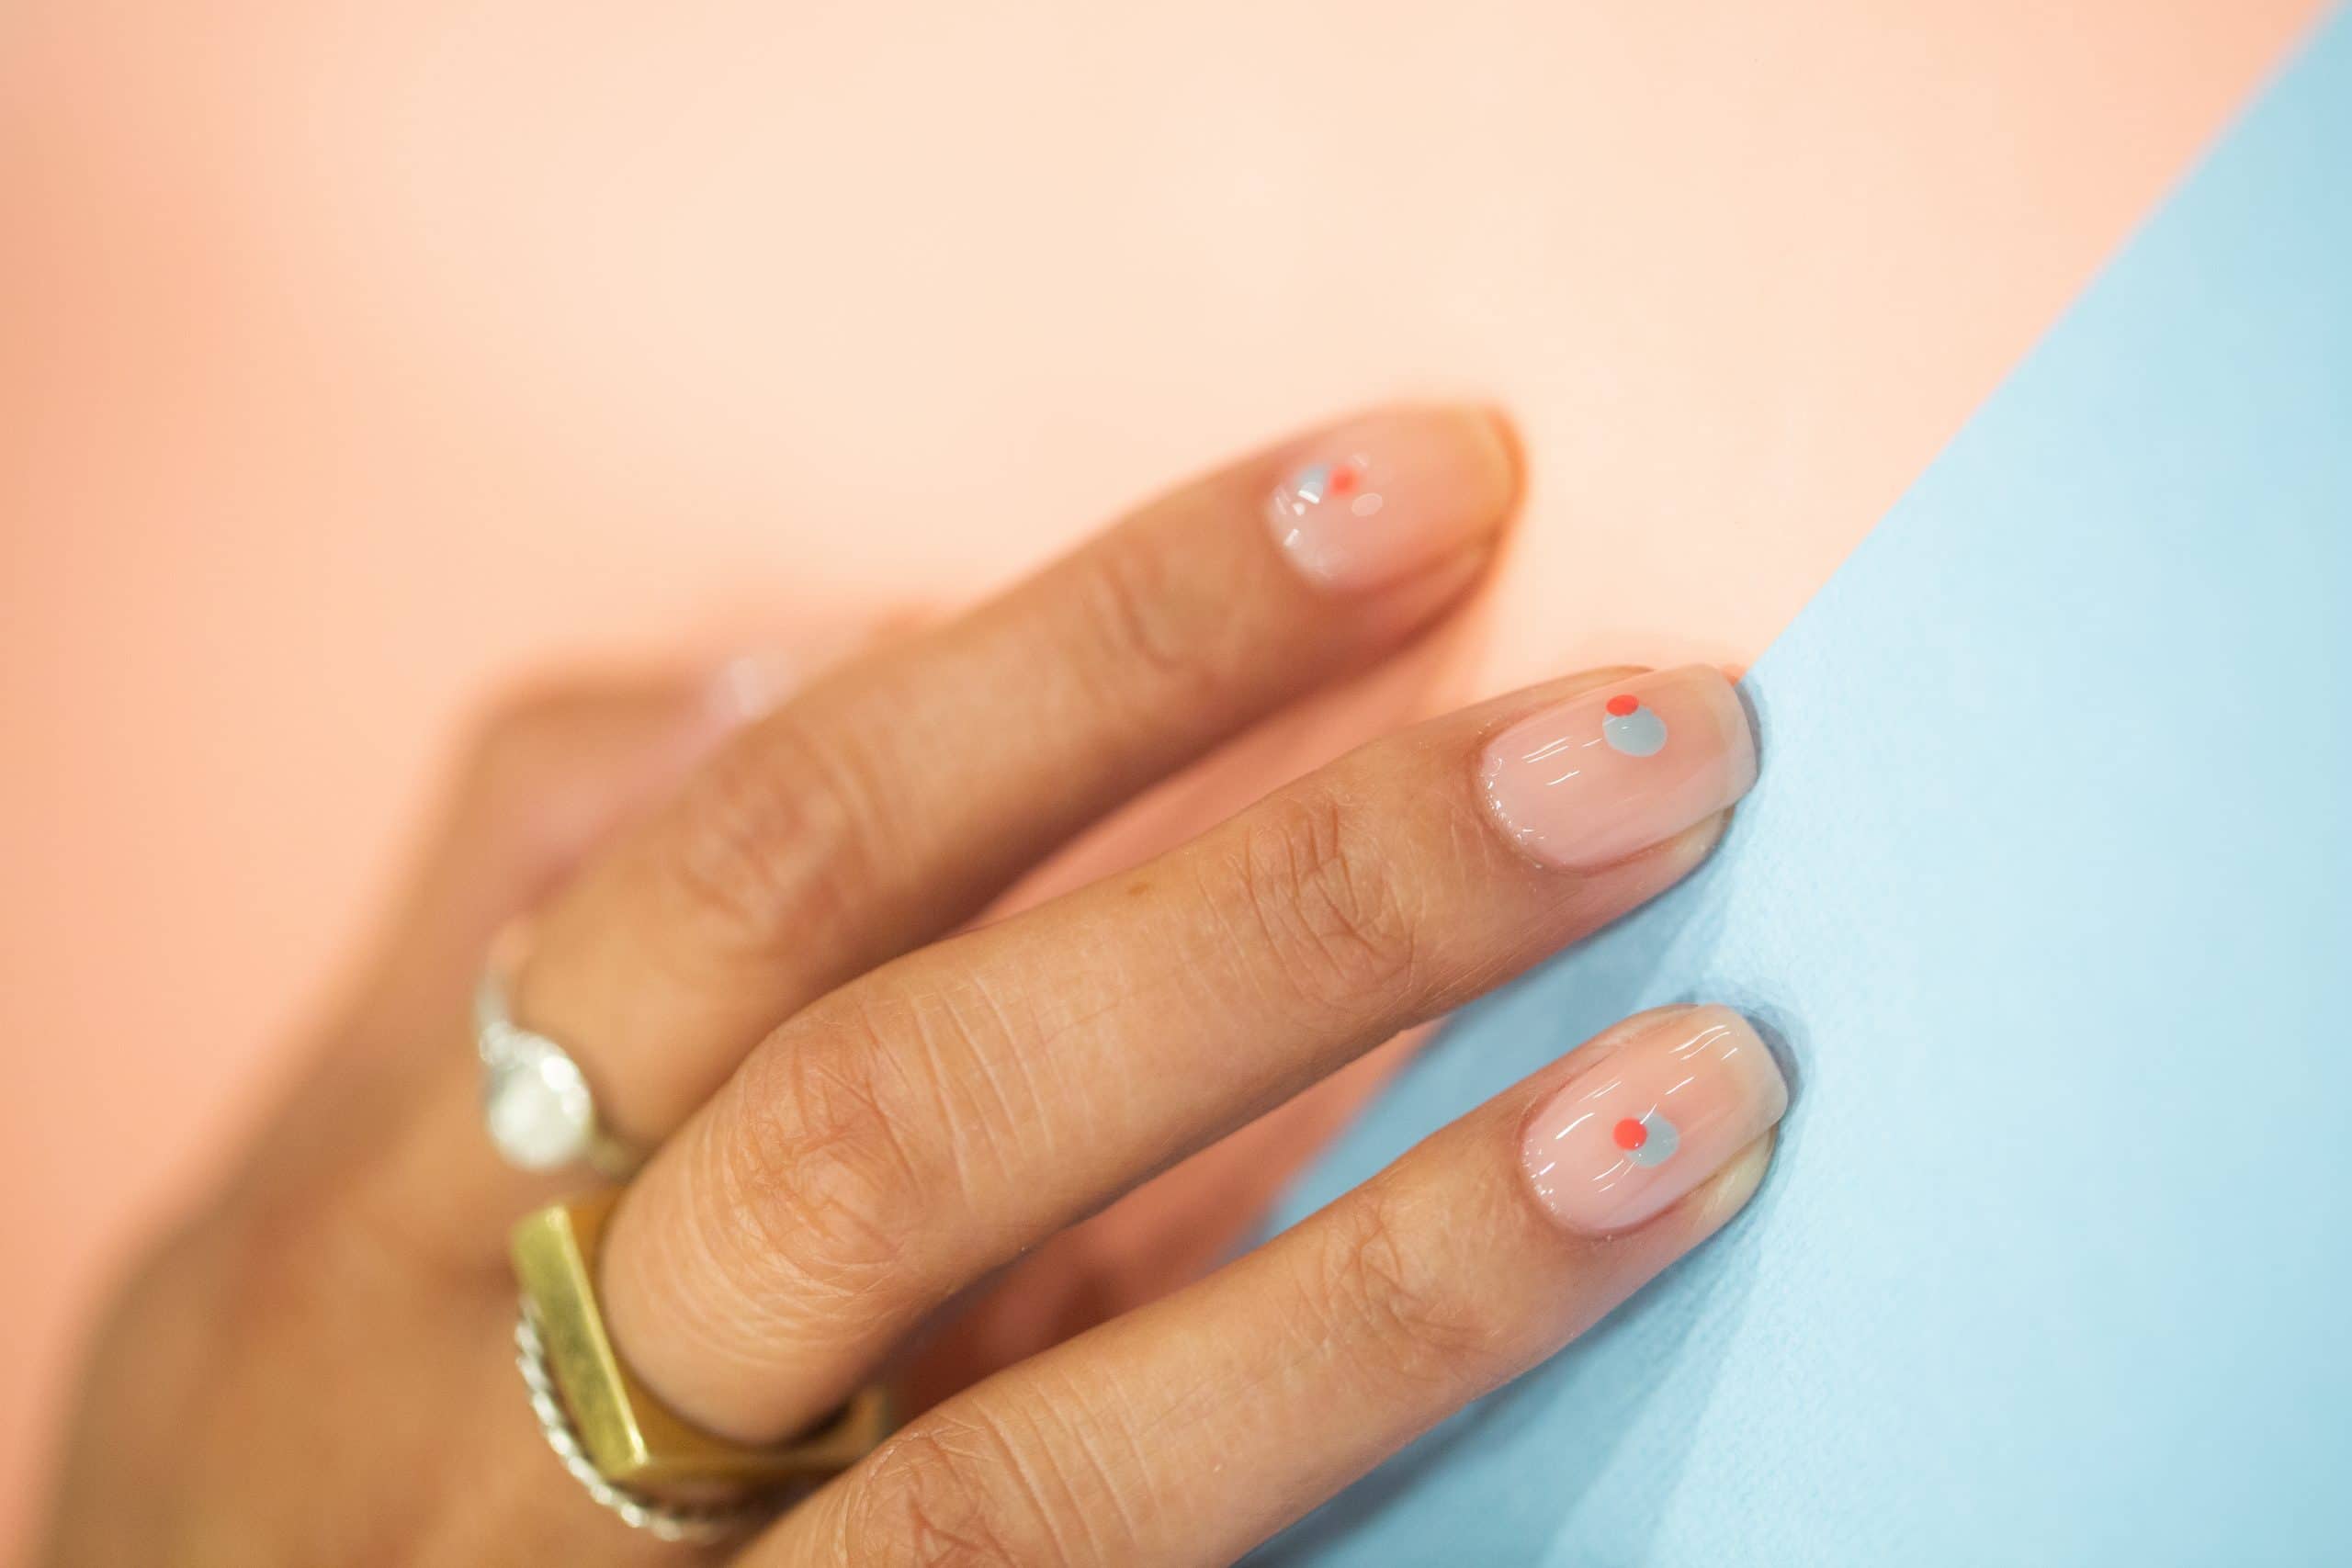
We are so happy to see people showing off their healthy and natural nails in their beautiful and creative negative space manicures. We know this trending mani moment can seem a bit intricate, but don’t fret! We’ve got a negative space mani that is nail art beginner friendly and a chic way to wear your favorite springtime shades.
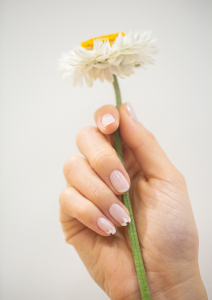
We recommend our minimalist dot nail art look to anyone who is looking for a unique way to sport a pop of color.
Let’s get to it!
For this minimalist dot nail art look you’ll need:
- A paper towel
- Your favorite nail file
- A nail clipper
- Cuticle serum
- A dotting tool (or a DIY dotting tool)*
- Soy polish remover
- Wooden cuticle sticks
- Base coat
- Top coat
- 2 polish colors you love
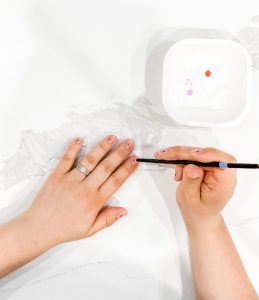
*If you want to achieve this look right away but don’t have a dotting tool, no problem! You can use anything with a small round point. In this tutorial we are using a paint brush.
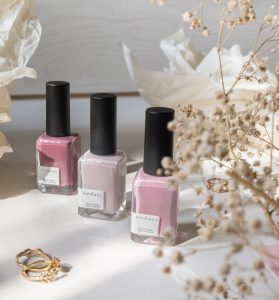
We’ve already gone ahead and curated some gorgeous spring shades that work perfectly for this minimalist dots look here.
8 Simple Steps to Achieve Chic Negative Space Nail Art
Step 1: Nourish Your Nails
Before you go ahead and show off those gorgeous nail beds, make sure you are nourishing your nail area daily by using a hydrating cuticle serum and include nutrient-dense foods into your everyday in order to fight against deep ridges in your nails, dullness, and those stubborn white marks.
Check out What you eat promotes radiant hair, skin and nails naturally.
Step 2: Gather Everything You’ll Need
Once you’ve started your nail art, it may be challenging to find all of the tools you’ll need to achieve this look. To avoid creating any dents in your mani, make sure you’ve got everything listed above to get this look.
Step 3: Select Your Colors
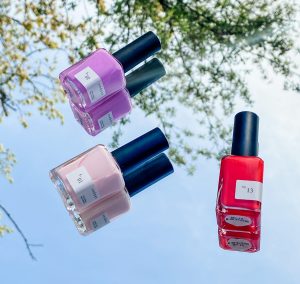
Choose two colors that you really love together. We recommend choosing some fun and bold colors for this nail art look.
Colors shown in shop by look page: No.31 – Cloud Gray & No.11 – Watermelon Pink
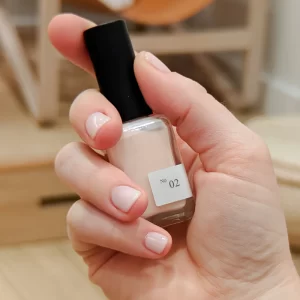
Colors shown on these tutorials: No.13 – Chili Pepper Red & L.02 – Unicorn Pink
Step 4: Prep Your Nails
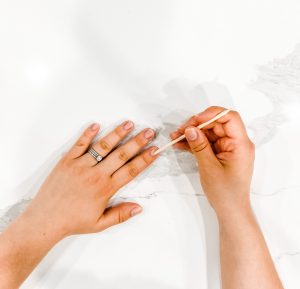
Prep your nails the same way you would for a regular manicure. Clean your nail plate with a polish remover, file your desired nail shape (follow our blog on how to file your nails here) and buff any ridges. Add cuticle serum and push back your cuticles with the flat side of the wooden stick. Wash your hands and wait for them to dry completely.
Step 5: Base Coat
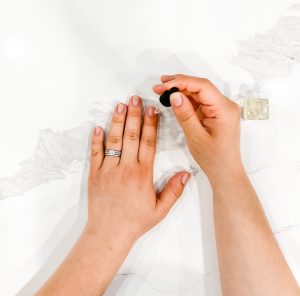
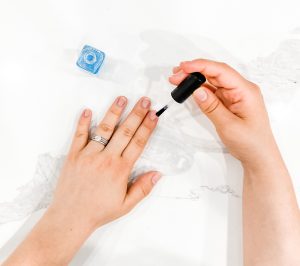
Apply one layer of our hydrating base coat to your dry nails to set the scene for this minimalist look.
Step 6: Add Your Dots
Dab a bit of nail polish onto a small plate or palette-like surface. Then, grab your dotting tool and dab it into the polish and gently place it on the center of your nail.
Repeat this step on all of your nails and wait for these dots to dry.
Once your first set of dots are dry, clean off your dotting tool and repeat this step with the second color.
Step 7: Top Coat
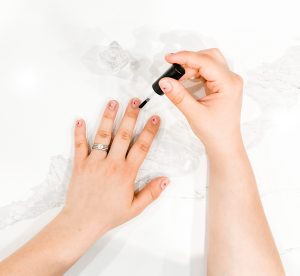
You did it! Now just allow a few minutes for your nail art to dry and apply two layers of our protective top coat to lock in and protect your masterpiece. Wait at least 3 minutes between layers.
Step 8: Quick Dry
If you’re on the go or don’t want to wait for your nails to dry naturally, we’ve got you covered! Try out our quick dry oil or quick dry top coat. For more tips, check out our expert guide on how to dry nail polish faster.
Good luck with this simple and trending mani!
If you try this look out we would love to see it. Tag us in all of your nail art on Instagram @sundays_studio.

